Our Location
5th Floor, Huake Center, Lanshan District, Linyi City, Shandong Province, China

5th Floor, Huake Center, Lanshan District, Linyi City, Shandong Province, China
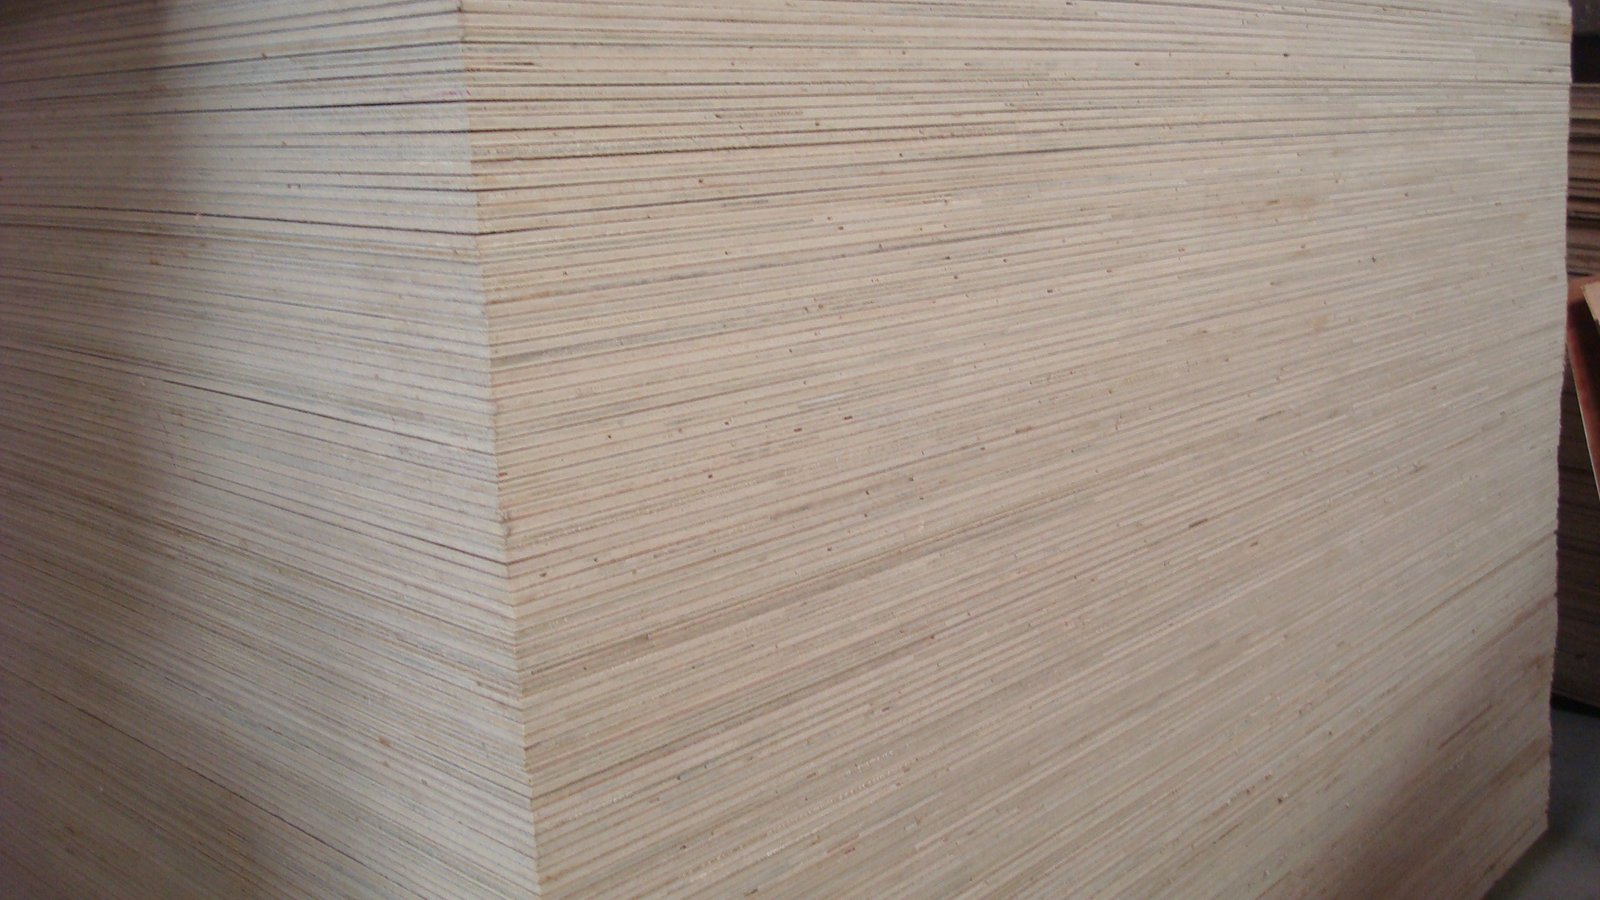
The dining room and the workshop both start from the flat sheet, and the plywood table turns the panel stock into the top that carries the plates, the laptops, and the years of daily use. The sheet gives the flat, stable surface that solid timber moves away from, and the build depends on the grade, the thickness, and the edge that reads in the room. This guide covers the top choice, the leg joinery, and the finish that keeps the panel true through the service.
The top reads the face every day, so the grade and the species set how the panel looks under the clear coat or the paint, while the thickness sets the stiffness across the span. A clean face carries the dining top and a working face serves the bench. Read the face and the span together.
The dining top takes the clean, uniform face that the clear finish shows without the patch line, while the workbench takes the working grade that the tools mark and the repairs hide. The grade matches the room rather than the habit. Choose the face that the eye will read.
The top thickness sets the stiffness across the table span, because a thin sheet sags between the legs under the load that the dinner and the tools apply. The thicker panel holds the plane without the pedestal in the middle. Read the span against the thickness.
The wide top joins the sheets at the seam, and the joint needs the alignment and the glue that keep the plane true after the clamps come off. The flat top starts with the true seam and the support underneath. Set the joint before the edge work.
Joint the edges square so the seam closes without the lip that the sanding cannot hide, and keep the grain running the same direction across the join. The matched seam reads as one panel under the finish. Clamp the joint flat, check the plane across the seam with the straight edge, and let the glue cure fully before the clamps come off, because the joint that opens under the early release reads in the finish.
Support the top across the frame so the sheet stays flat between the legs, because an unsupported span takes the bow that the finish reads as the dip. The supported plane holds the plates level. Set the support to the span.
The leg carries the top at the corner, and the joint decides whether the table stands still through the years of the push and the pull. The bracket, the cleat, and the mortise each serve the load in their own way. Read the leg against the load.
The L bracket ties the leg to the top with the screw line into the sound panel, and the gusseted angle holds the racking that the loaded table applies. The bracket reads quick and holds honest. Fix the bracket into the grain rather than the edge plys.
The cleat across the leg carries the thread that the bolt runs into, so the top pulls down onto the leg rather than the screw hanging in the face. The threaded joint lets the top move with the seasons while the leg stays. Draw the bolt to the seated head.
The edge reads close at the hand while the face reads across the room, so the edge band and the topcoat both earn their place in the finish. The finished edge hides the ply lines and the face carries the grain. Treat both sides of the panel.
The banding closes the ply lines at the edge that the hand meets, and the iron-on band or the hardwood strip keeps the layering under the finger rather than in the eye. Trim the band flush and sand it into the face. The closed edge finishes the panel, and the band sanded flush into the face disappears under the topcoat that follows.
The topcoat takes the water rings and the daily wear on the dining surface, so build it in thin, cured coats that the ring cannot reach through. Seal the underside as well to keep the moisture balanced. The balanced coat keeps the top flat.
The table fails in a few familiar places: the thin top that bows across the span, the leg fixed in the edge plys, and the unsealed underside that cups the panel. Each mistake goes back to the layout rather than the sheet. Thicken, fix, and seal.
A thin top sags between the legs under the load that the dinner applies, so step the thickness up or add the support rail across the span. The supported plane holds the plates level through the years of the daily service. Read the span against the thickness before the cut starts, because the top that spans the room needs the stiffer sheet at the centre.
A leg fixed in the edge plys strips under the push that the daily use applies, so move the fixing into the face with the bracket or the cleat into the grain. The face fixing holds the wobble down. Set every leg into the sound panel.
The table size follows the chairs and the walk line around it, because the top that fills the room leaves no path while the short top leaves the chairs reaching. Measure the room and the seat count first. The sized top serves the people rather than the sheet.
The seat count sets the length that each chair takes at the edge, and the walk line sets the clearance that the room needs around the panel. Read both before the sheet is ordered. The sized top serves the dinner without the reach.
The top height sits against the chair seat so the elbow reads comfortable through the meal, and the leg length sets that line before the panel is cut. The comfortable height keeps the dinner at the table and the elbow off the reach that the wrong line causes. Measure the chair seat against the plan before the leg length is cut, because the leg sets the height that every guest reads first.
These are the questions builders ask most about the panel table.
Yes, the cross-laid sheet stays flat across the span where the solid timber moves, and the graded face carries the clear finish or the paint. Match the thickness to the span and seal both faces.
The thickness follows the span between the legs and the load the top carries, because the long table needs the stiffer panel against the sag. Add the support rail where the thin sheet serves the short span.
Sand through the grits, band the edge, and build the topcoat in thin, cured coats that hold the water ring off the panel. Seal the underside to keep the top flat through the seasons.
The legs fix into the face with the bracket or the threaded cleat, because the edge plys strip under the daily push. The face fixing holds the leg through the years of use.
The rated thickness across the span and the face-fixed legs carry the dinner and the work load, because the cross-laid core holds the fastener and the plane together. The supported top reads solid underfoot of the daily use.
Read the grade, size the span, fix the legs into the face, and seal both sides, and the plywood table carries the room for the years without the bow that the solid panel moves. The flat sheet earns its place at the centre of the room. When the project needs a clean top sheet cut for the table, HYY supplies furniture-grade panels with the face and thickness marked on every sheet, and the Fancy Plywood and Commercial Plywood pages show the tops for the dining and the work table. The complete plywood product range backs the order before the cut list is marked.