Our Location
5th Floor, Huake Center, Lanshan District, Linyi City, Shandong Province, China

5th Floor, Huake Center, Lanshan District, Linyi City, Shandong Province, China
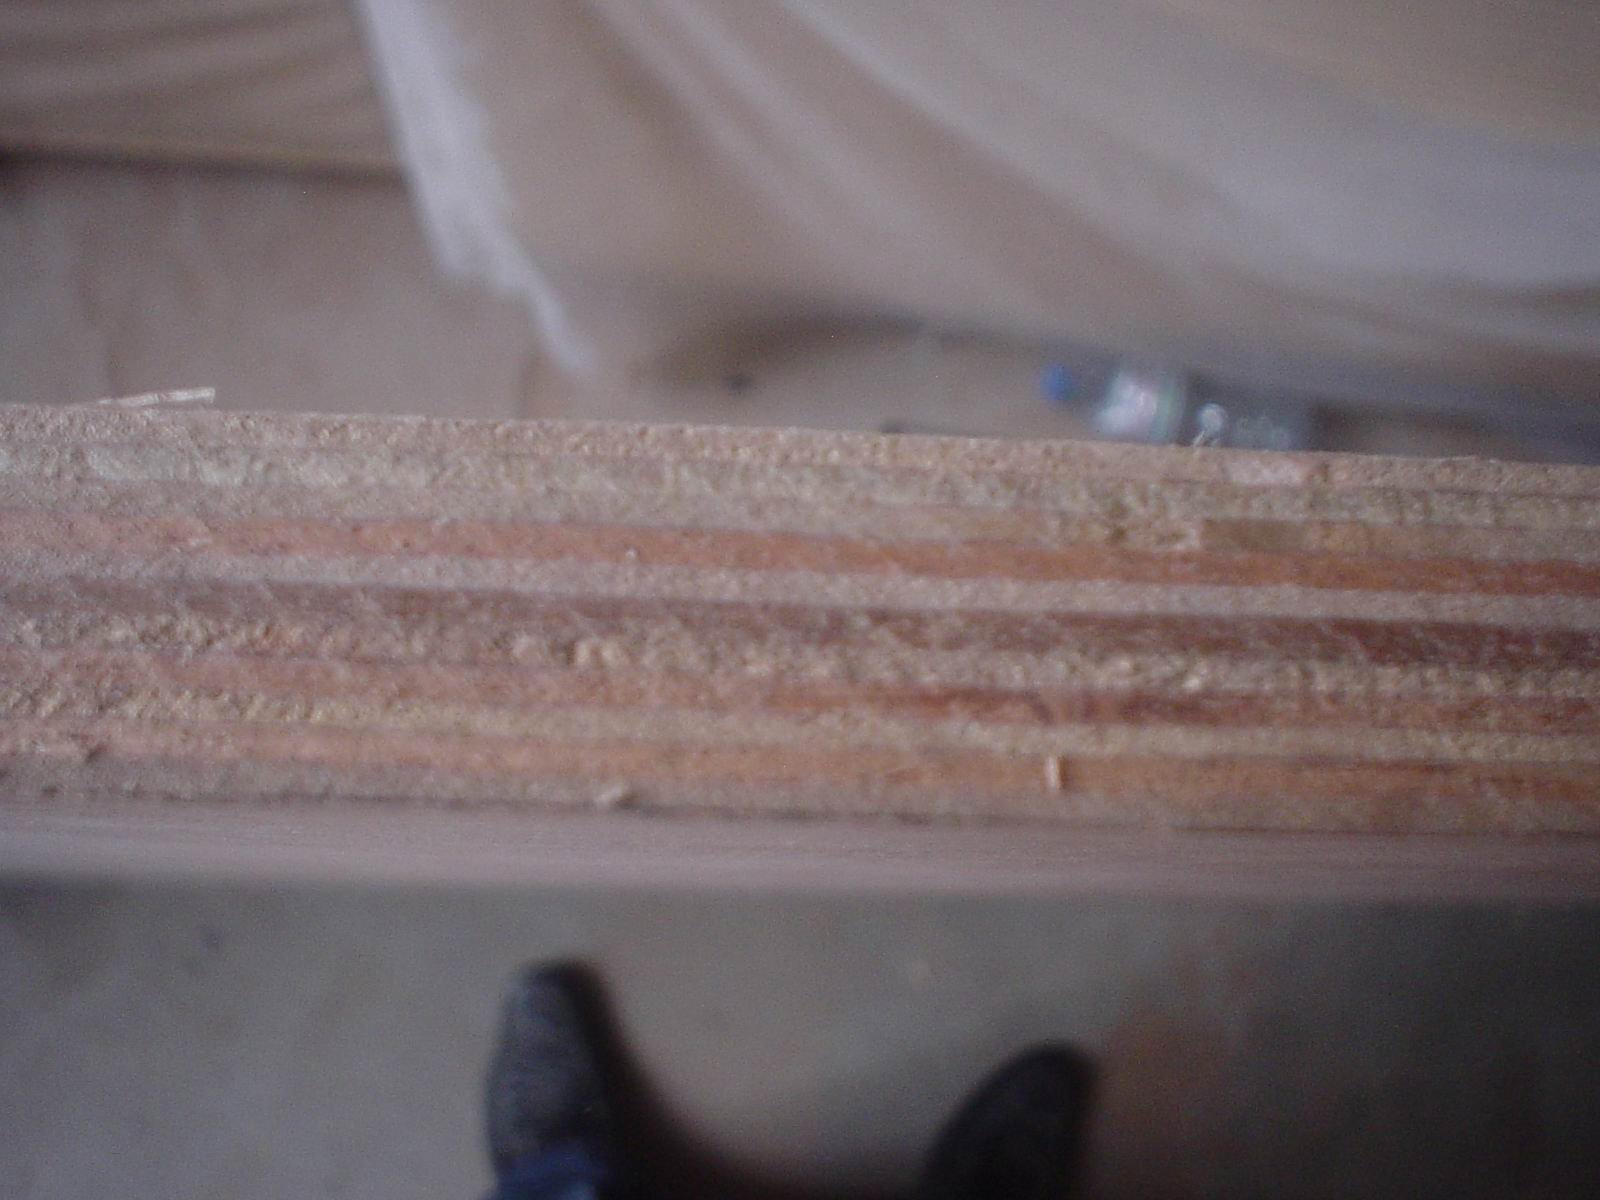
The cabinet door and the jig both need the thread that repeats, and plywood t nuts give the panel the metal thread that a screw stripped in the fibre cannot hold. The anchor sets into the drilled hole and spreads its prongs across the veneer, so the bolt runs in and out without wearing the wood. This guide covers the hole sizing, the setting, and the load work that keeps the T nut spinning in place for the service life.
The T nut drops into the hole from the far face, and the prongs bite the veneer when the bolt draws the flange against the panel, so the anchor locks into the sheet rather than the glue line. The thread stands proud for the bolt while the flange spreads the load. That is where the anchor earns its place in the plywood build.
The prongs set into the face of the plywood when the bolt tightens, and the bite holds the anchor against the spin that the loosening bolt applies. A seated anchor turns with the panel rather than in the hole. Drive the prongs home before the bolt carries the load.
The flange spreads the pull across the face instead of the thread walls alone, so the panel holds the load that a plain screw eye would strip. The spread keeps the plywood whole under the repeat. Set the flange flat against the far face.
The hole matches the body of the T nut rather than the bolt, because the anchor drops in while the thread stands proud for the fastener. A loose hole lets the anchor spin and a tight one splits the veneer. Read the anchor body and drill to the fit.
Drill the hole to the body diameter so the anchor drops in without the play that lets it turn under the bolt, and keep the walls clean so the prongs seat on the face. The clean hole sends the anchor in square so every prong meets the face at the same depth. Measure the body of the anchor rather than guessing the bit, because the drill chart on the package reads the fit the panel needs.
Drill through the panel or to the depth that lets the flange seat on the far face, because a hole short of the through line leaves the anchor standing proud and the bolt runs out before the load. The seated flange carries the pull. Check the depth against the panel thickness.
The setting runs from the clean hole to the seated prongs, because an anchor driven blind tilts in the fibre and strips the moment the bolt turns. Keep the anchor square and draw the bolt to seat the prongs. The seated anchor reads flush on the face.
Start the anchor square in the clean hole and tap it level with the block, because a tilted anchor seats one prong deep and one proud and pulls out under the load. The square anchor seats all the prongs together. Sight the flange against the face before the bolt goes in, because the tilted anchor seats one side of the prong ring deep while the other stands proud of the veneer.
Run the bolt in with the washer and draw it snug so the flange pulls the prongs into the veneer, then back the bolt out and check the bite. The seated prongs hold the anchor against the spin. Seat the anchor before the hardware hangs on it.
The T nut carries what the thread and the panel share, so the load follows the bolt size and the plywood behind the flange. Keep the working load inside the bolt grade and the face that holds it. Read both sides of the joint.
The bolt grade sets the tension the thread carries while the panel face holds the anchor, so match the bolt to the load rather than running the first one that fits. The sized bolt keeps the thread inside its limit. Read the load against the grade.
The veneer under the flange carries the pull, so the hardwood face and the sound sheet hold what a chipped edge drops. Set the anchor in the clean face rather than the damaged line. The sound panel backs the anchor, and the face free of the handling dent holds the flange flat where the crushed line lets it rock.
The anchor fails in a few familiar places: the loose hole that spins, the prong that never seats, and the bolt run past the thread. Each mistake goes back to the hole and the setting rather than the product. Size, seat, and stop.
A loose hole lets the anchor turn with the bolt, so the hole needs the body fit or the seat that the washer draws against the back face. The clean hole and the seated flange stop the spin. Drill to the body and the anchor holds.
An anchor that pulls from the panel missed the prong bite or sat in the chipped face, so set it in the sound veneer and draw the prongs before the load. The seated bite holds the pull. Check the face and the seat before the hardware loads.
The joint that repeats repays the light check: watch the bolt tension, look at the flange, and renew the anchor where the thread wears through the duty cycle. The maintained thread keeps the hardware working through the years of the repeat, and the light check costs the minute rather than the rebuild of the face. The check protects the joint while the panel is still whole and the prongs still hold.
A joint that works loose under the repeat shows the bolt easing before the anchor fails, so check the tension at the service intervals and draw it back to the seated head. The held tension keeps the prongs set. Look at the bolt first when the wobble appears.
A worn thread that rounds under the bolt takes the new anchor in the clean hole, because the stripped panel holds nothing once the thread gives. Replace the anchor before the face chips. The fresh thread restores the joint.
These are the questions builders ask most about the threaded anchor.
Yes, the prongs bite the veneer and the flange spreads the pull across the face, so the panel holds the repeat thread that a stripped screw drops. Set the anchor square in the sized hole.
Drill to the body diameter of the anchor so it drops in without the play that lets it spin, and keep the walls clean for the prong seat. Measure the body rather than the bolt.
Size the hole to the body, seat the flange flat on the far face, and draw the prongs into the veneer before the load. The seated anchor turns with the panel rather than in the hole.
The load follows the bolt grade and the sound veneer behind the flange, so keep the working load inside both. The hardwood face holds the pull that a chipped edge drops.
The prongs carry the spin while the seat holds the pull, and a drop of glue can back the anchor where the duty cycle is heavy. The seated mechanical bite leads the joint.
Size the hole, seat the prongs, and match the bolt to the load, and the plywood t nuts hold the joint through the repeat service of the build. The seated anchor is the whole fix. When the project needs panels drilled for the threaded hardware, HYY supplies sheets with the face and thickness marked for the anchor work, and the Commercial Plywood and Fancy Plywood pages show the panels that take the T nut and the bolt. The complete plywood product range backs the order before the drill bit is chosen.