Our Location
5th Floor, Huake Center, Lanshan District, Linyi City, Shandong Province, China

5th Floor, Huake Center, Lanshan District, Linyi City, Shandong Province, China
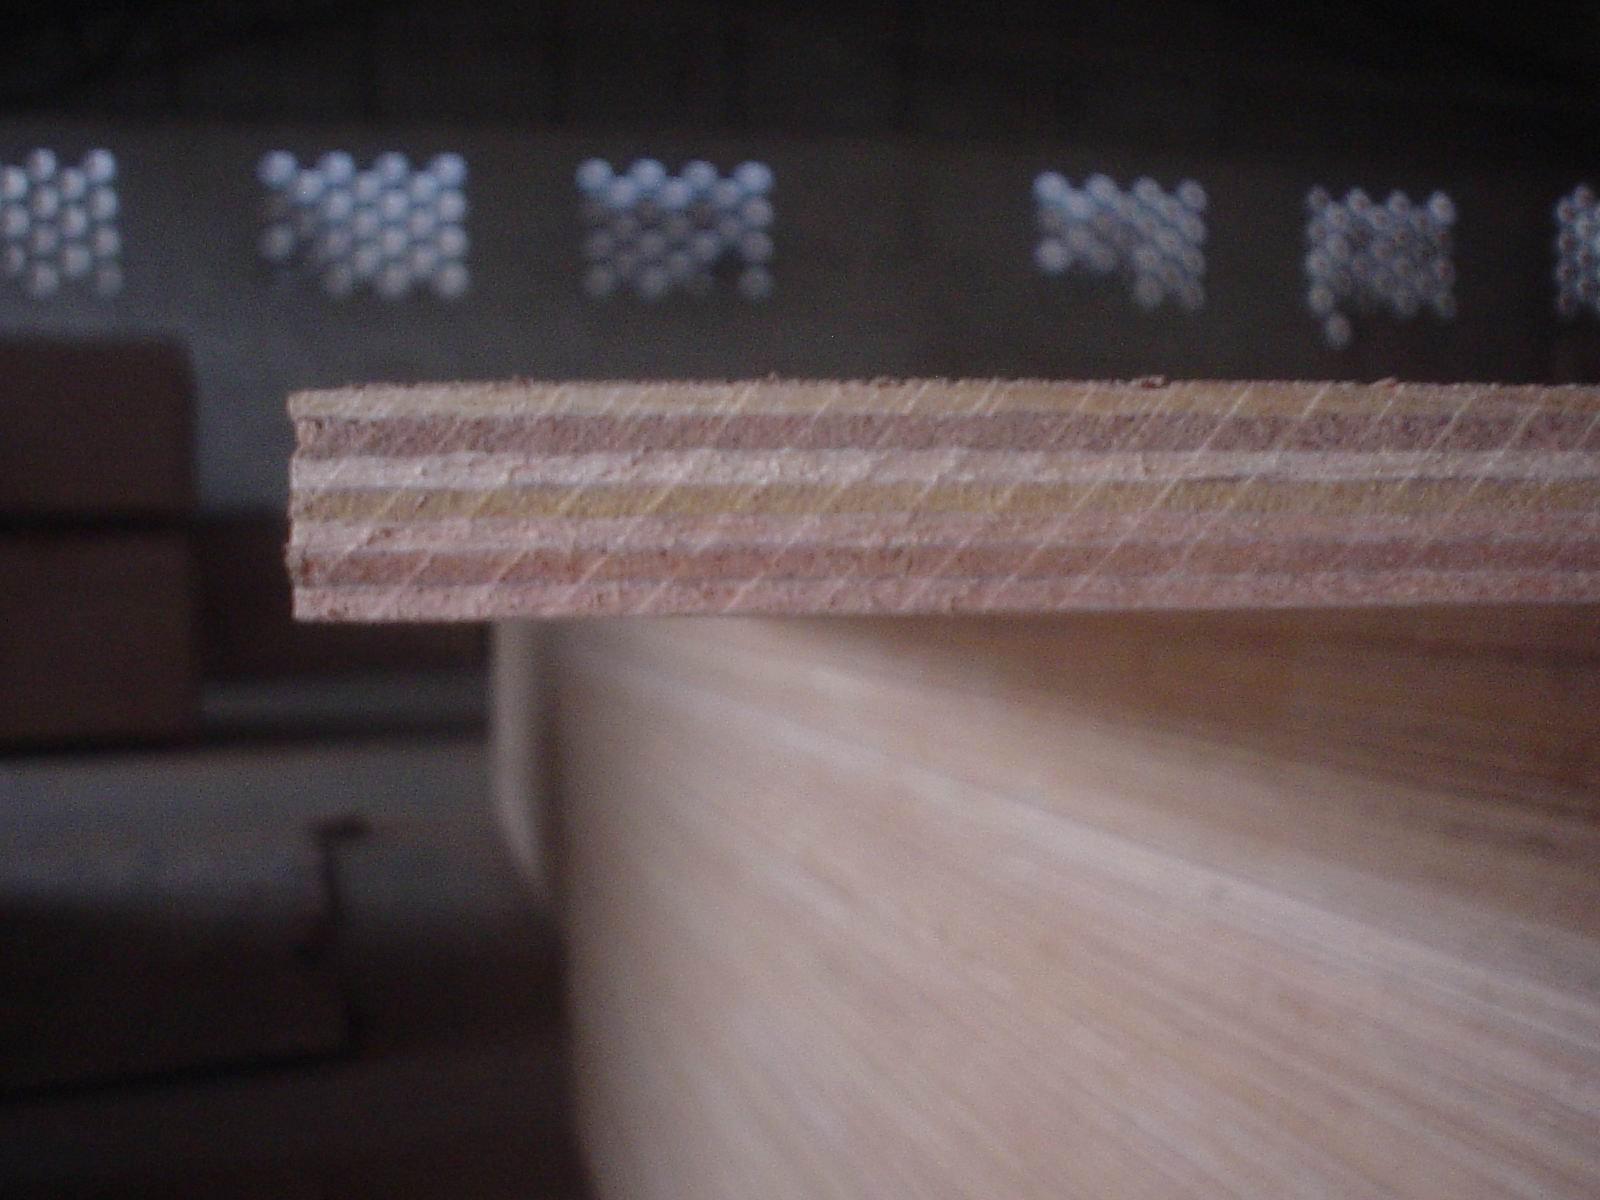
The corner that carries the load takes the steel angle, and plywood l brackets hold the shelf, the bench, and the wall panel at the ninety degrees that the build needs. The L profile ties two plywood faces together or carries the panel from the wall, and the screw line decides whether the bracket holds the load or pulls loose. This guide covers the bracket types, the screw selection, the spacing, and the load rating for a plywood build that stays square.
The L bracket works at the corner where two plywood faces meet, or as the shelf bracket that carries the panel from the wall, and the steel angle holds the ninety degrees that glue alone rarely keeps. The bracket takes the tension and the compression that the joint meets under the load. That is where the steel earns its place in the plywood build.
The corner bracket ties the plywood box, the bench frame, and the cabinet carcass at the angle that the racking load tries to pull apart, and the screw line carries the load into both faces. The reinforced corner holds the square long after the glue alone gives. Set the bracket at the inside corner where the load lands.
The shelf bracket carries the plywood shelf from the wall with the angle that transfers the load into the studs, and the panel rests on the horizontal leg of the L. The wall bracket turns the flat sheet into the supported shelf that holds the books and the tools. Fix the vertical leg into the framing rather than the plaster.
The bracket follows the load and the panel thickness: the light shelf takes the small angle, while the loaded bench and the deep shelf take the heavy gauge with the gusset that stiffens the leg. Match the bracket gauge to the load and the screw to the plywood. The right bracket serves the load without the flex.
The heavy-gauge bracket carries the loaded shelf and the bench corner, while the gusseted angle stiffens the leg against the bend that the long shelf applies. The light gauge serves the display shelf that never meets the working load. Read the load against the gauge on the package.
The bracket leg length suits the plywood thickness so the screw line sits on the solid face rather than the edge plys, and the shelf depth matches the angle reach. A bracket too short for the panel puts the screws into the weak edge. Match the bracket to the sheet before the fixing.
The bracket only holds what the screws hold, so the fastener into the plywood face carries the whole load of the shelf. Choose the screw that bites the panel thickness without the reach through the back, and pre-drill the pilot so the veneer never splits at the fixing line. The screw line is the load path of the bracket.
The screw must bite the plywood by the depth that holds the working load without the point reaching the back face, and the head seats on the bracket hole without the tilt. A screw too short strips under the pull and one too long splits the panel edge. Measure the panel and the bracket together.
Pre-drill the pilot into the plywood so the screw enters straight and the veneer stays whole at the bracket hole, because a screw driven blind into the face starts the split that loosens the bracket. The clean pilot sends the screw straight into the panel. Drill at every bracket hole before the screws go in.
Brackets hold as a team, so the spacing between them along the shelf decides whether the panel stays flat or bows between the supports. Set the brackets at the interval the panel thickness allows, and read the load rating on each bracket against the shelf load. The pattern follows the span rather than a fixed count.
Space the brackets so the plywood shelf never reads as a spring between the supports, and add the centre bracket on the long span that the outer pair cannot hold alone. The even spacing keeps the panel flat under the books and the tools. Measure the span and set the count.
The load rating on the bracket package assumes the fixing into the solid backing, so the wall brackets need the stud line and the corner brackets need the screw bite into both faces. Hold the working load inside the rating with the reserve for the overload day. The rating sets the shelf capacity.
The bracket build fails in a few familiar places: the screw into the hollow plaster, the bracket that runs short of the panel face, and the spacing that leaves the long shelf unsupported. Each mistake goes back to the layout rather than the hardware. Fix the stud line, the screw length, and the spacing before the shelf loads.
A bracket screwed into the plaster holds nothing until the toggle or the stud carries the load, so scan for the framing and lay the bracket line on the studs. The anchor must find the solid backing or the shelf hangs on the plaster alone. Fix every vertical leg into the framing.
A long plywood shelf between the outer brackets bows under the books, so the centre bracket or the thicker panel closes the span. The supported span keeps the shelf flat and the load inside the rating. Add the centre support before the books arrive.
The corner bracket holds the square while the glue cures and carries the racking load for the service life, so the square check belongs with the fixing. Set the bracket, check the diagonal, and tighten the screws to the seated head. A square corner keeps the door hanging true and the bench standing still.
Clamp the plywood faces at the ninety degrees, set the L bracket across the joint, and check the diagonal before the screws go in, because the bracket fixes the shape that the clamp holds. A square corner reads in the door line and the bench top. Check the diagonal on every corner.
Drive each screw to the seated head without the over-driven crater that crushes the veneer and loosens the bracket, because the crushed ring drops the holding power at the fixing line. The seated head holds the load without the damaged face. Stop the driver at the bracket hole.
These are the questions builders ask most with plywood L brackets.
Yes, the L bracket carries the shelf from the wall and reinforces the plywood corner, with the screws biting the panel face. Pre-drill the pilots and fix the wall leg into the studs.
Screws sized to the panel thickness that bite the face without the reach through the back, pre-drilled so the veneer stays whole. The seated head holds the load without the crushed crater.
Space them so the plywood shelf never bows between the supports, and add the centre bracket on the long span. The spacing follows the panel thickness and the span.
The load rating on the package assumes the fixing into the solid backing, so the stud line sets the wall shelf capacity. Hold the working load inside the rating with the reserve.
The loaded shelf takes the bracket into the studs, and the light fix takes the anchor rated for the hollow wall. The anchor must find the solid backing to hold the load.
Set the bracket gauge to the load, fix the wall leg into the framing, pre-drill the pilots, and square the corner before the screws seat, and the plywood build holds its line for the years. The steel angle and the correct screw carry the load that glue alone drops. When the project needs panels cut for the bracketed shelf and the braced corner, HYY supplies furniture-grade sheets with the thickness marked on the face, and the Commercial Plywood and Fancy Plywood pages show the panels that take the bracket and the screw. The complete plywood product range backs the build before the hardware is ordered.