Our Location
5th Floor, Huake Center, Lanshan District, Linyi City, Shandong Province, China

5th Floor, Huake Center, Lanshan District, Linyi City, Shandong Province, China
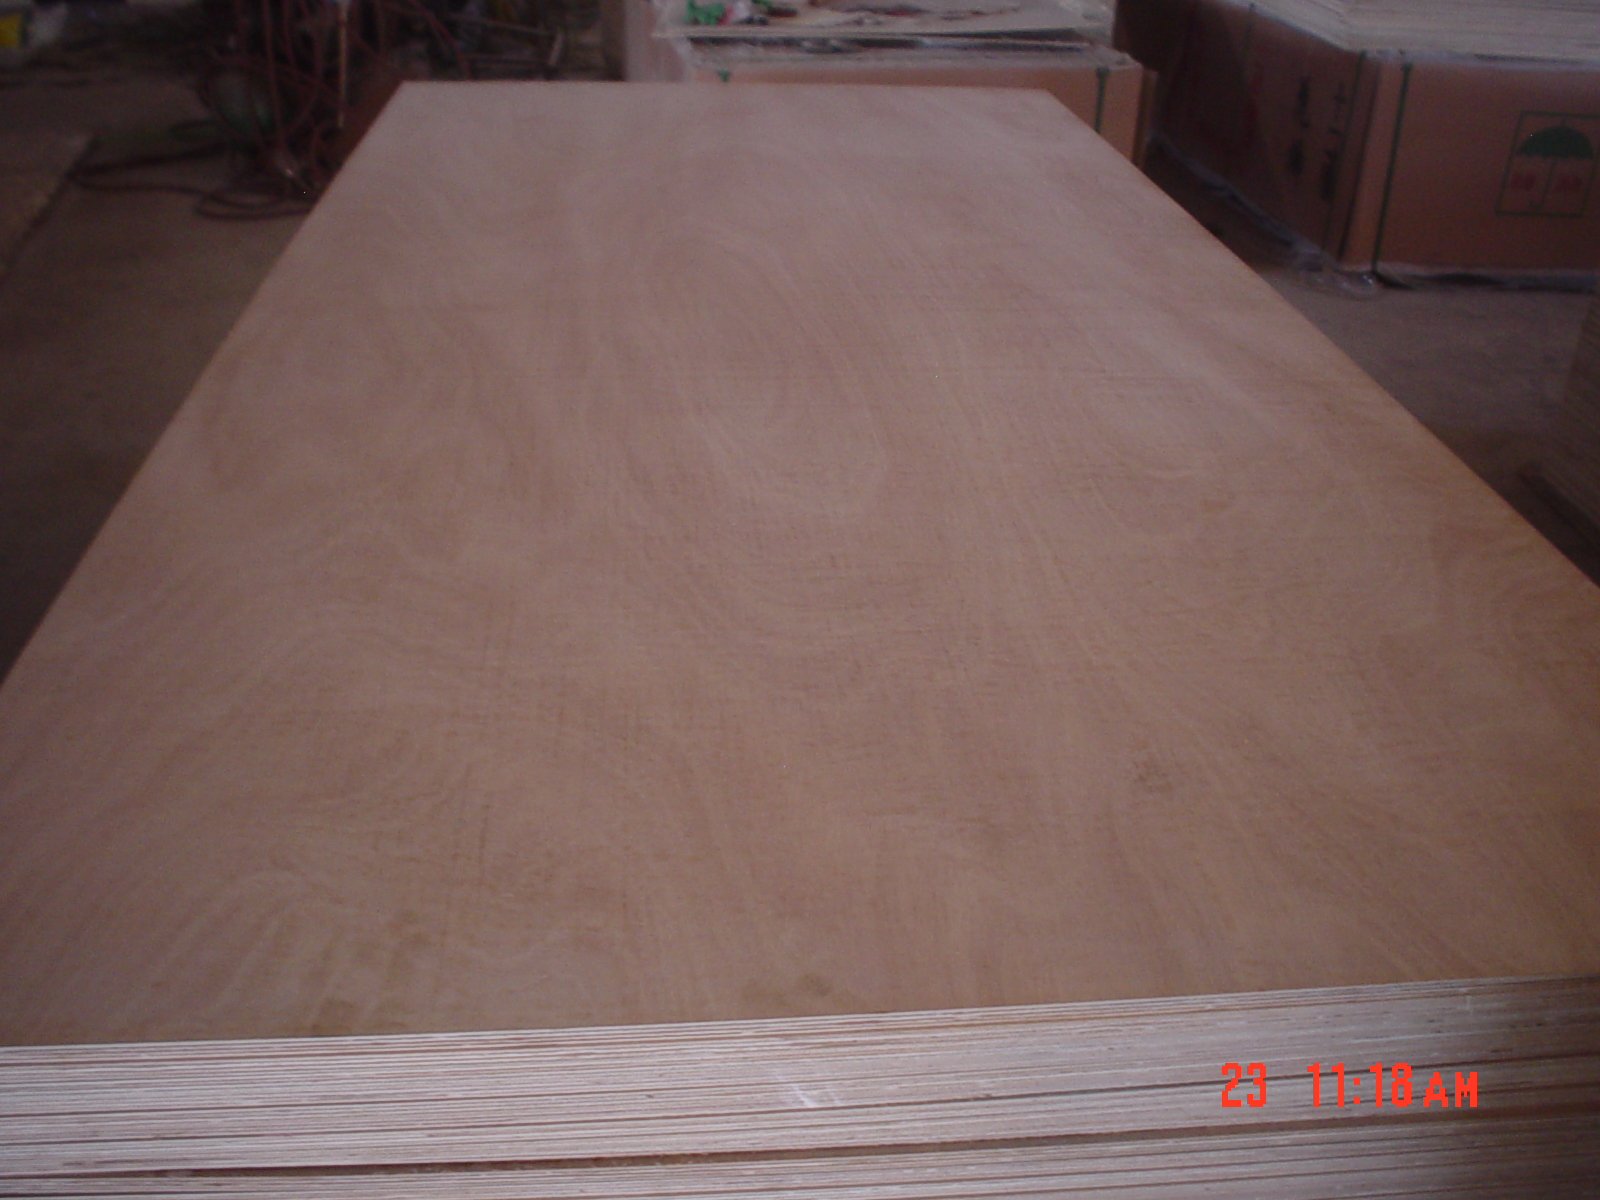
Fix one tired room by aiming at the bare ceiling: plywood ceiling ideas hang the warmth of a timber roof over an ordinary box, quieting the echo and dressing the fifth wall. The ceiling installs with the panels ripped to set widths and fixed across the joists, finished clear or painted to the room. This guide covers the looks, the panel choices, the installation, and the finish decisions for a plywood ceiling.
A plywood ceiling adds the warm grain of milled panels where most rooms read blank, and the flat panels calm the rebound of a hard room. The timber mass cuts the echo that bare plaster throws back and ties the room to the floor and the built-in timbers. It is a material change that the eyes notice without the budget of a full timber wall.
The ceiling is the largest unbroken surface a room shows, and a plywood plane of clean faces and neat seams grounds the space. The grain runs across the room and the seams break the mass into a quiet rhythm. The panel ceiling reads as deliberate design, not a surface to ignore.
The glue-layered mass of plywood absorbs some of the bounce that echoes off plaster, softening the room for the voice and the music. The timber surface holds its natural warmth against the cold of a flat roof. The behavior change shows in the first conversation in the finished room.
The plywood ceiling takes two classic layouts: big full-sheet panels for a clean room, or narrow ripped boards for the slatted look. The full sheets read as one calm plane when the seams break evenly, while the board-and-batten cuts run the timber lines that dress the ceiling like a deck. Choose the layout by the room and the finish.
A full sheet or closely set panel grid covers the ceiling in a flat plane with the seams falling on the framing. The look suits the clean modern rooms where the grain is the decoration and the seams stay quiet. Keep the sheets pulled tight to the ceiling line and the seams flat.
Rip the sheets to 80 to 120 mm slats and fix them battened at intervals, leaving the shadow lines that break the acoustic bounce. The slatted run adds the linear warmth of a deck ceiling and hides the seam work under the fixings. Leave the small gap between the boards for the shadow line, or close them for a smooth deck.
The ceiling panel choice comes down to the face and the environment: a decent face on the exposed lane, and the right bond for the space above. Clear-finished panels take a clean face, while painted ceilings take the utility B face at a lower cost. Indoor ceilings use the interior bond, and any enclosed damp space takes exterior-bonded panels.
A clear coat shows the face veneer, so the visible ceiling takes an A or B face with the grain clean under the oil. A painted ceiling covers the B patches with the paint film and saves the premium of the top face. Name the finish first and the face follows.
The dry living ceiling takes the interior bond, while a bathroom or the soffit of a conservatory takes the exterior bond for the moisture. The bond holds the face flat and the panel stable under the room’s worst air. Confirm the exposure zone before the ceiling sheets order.
The plywood ceiling fixes to the joists with screws or nails into the framing, with the seams centred on the bearing and the sheets arranged in a running bond. Rack the layout so the seams fall off the pattern, and leave the small expansion gap at the perimeter. The install runs the sheet direction across the framing for the flat plane.
Plan the sheet positions so every long seam lands on the solid framing and the joints stagger between the rows. A running bond spreads the joints instead of lining them into a weak cross-line. Mark the joist lines on the surface before the first sheet goes up.
Fix the sheets into the joists with the screws or nails dimpled for the filler, and set the perimeter gap so the panels breathe with the room. Drive the fixings straight so the face stays clean under the finish. The screws pull the panel flat and the seam tape conceals the joint line.
The finish sets the whole character of the plywood ceiling: painted white for a bright calm room, a clear oil or lacquer for the warm grain, or a light stain to tone the timber to the room. The clear finishes show the veneer grain, while the paint tames the board pattern. Seal the panels and the cut edges before the finishing coat.
A clear oil, lacquer, or matte varnish brings out the grain and the plywood lines while protecting the surface from the room’s oils and dust. The finish reads warm and live above timber-furnished rooms. Apply the coats evenly so the ceiling dries without the patchy sheen.
White paint turns the slatted ceiling into a calm bright plane, while a deep colour makes the ceiling feel closer and more crafted. Put the primer on the cut edges and the filler in the dimples before the topcoats. A painted plywood ceiling keeps the texture and loses only some of the grain.
A plywood ceiling lands as a budget-friendly upgrade because the material covers a large area at a normal panel price and installs with the tools already in the shop. The visible seam work and the finish carry the labour, so the sheet price is not the whole story. Buy the panels flat and racked so the ceiling installs without the warp drama.
Measure the room, run the layout to the 1220 mm sheet width, and count the full sheets with a small waste allowance for the cuts. The layout stages the seams on the joists and keeps the offcuts usable for the infill rows. A clean count orders the right stock with no wasted sheet.
Stand the sheets flat in the dry room before the install so the panels stay true under the even stack. A warped sheet fights the ceiling line, so keep the stock racked and covered. The flat panel fixes flat and the ceiling stays true.
These are the questions builders ask most with a plywood ceiling.
A decent-face 12 to 18 mm interior panel suits the visible dry ceiling, with an exterior bond small enough where damp air gathers. Match the face to the finish and the bond to the room.
Clear oil shows the warm grain; paint reads calm and bright. Choose by the room style and finish over the sealed panels.
Seams fall on the framing, meet in the running bond, and get taped and filled or covered by the slat gaps. Detail the seams in the install, not as a repair.
Yes, the panel price per area is low for the visual change and the acoustic calm it brings. The labour sits in cutting, sealing, and finishing.
Fix the sheets into the joists with screws or nails in a running bond at even spacing. The panels carry the same fixing pattern as the sheathing.
Pick the slat or the full-panel layout, match the bond to the room, and fix the seams on the framing before the finish seals the plane. The ceiling then dresses the top of the room with the warmth the bare sheet never held. When the ceiling project needs panels with a clean face for the finish, HYY supplies interior and functional panels in the ceiling widths, and the Fancy Plywood and MDF Board pages show the options for the finish work overhead. The complete plywood product range backs the ceiling before the ladder comes out.