Our Location
5th Floor, Huake Center, Lanshan District, Linyi City, Shandong Province, China

5th Floor, Huake Center, Lanshan District, Linyi City, Shandong Province, China
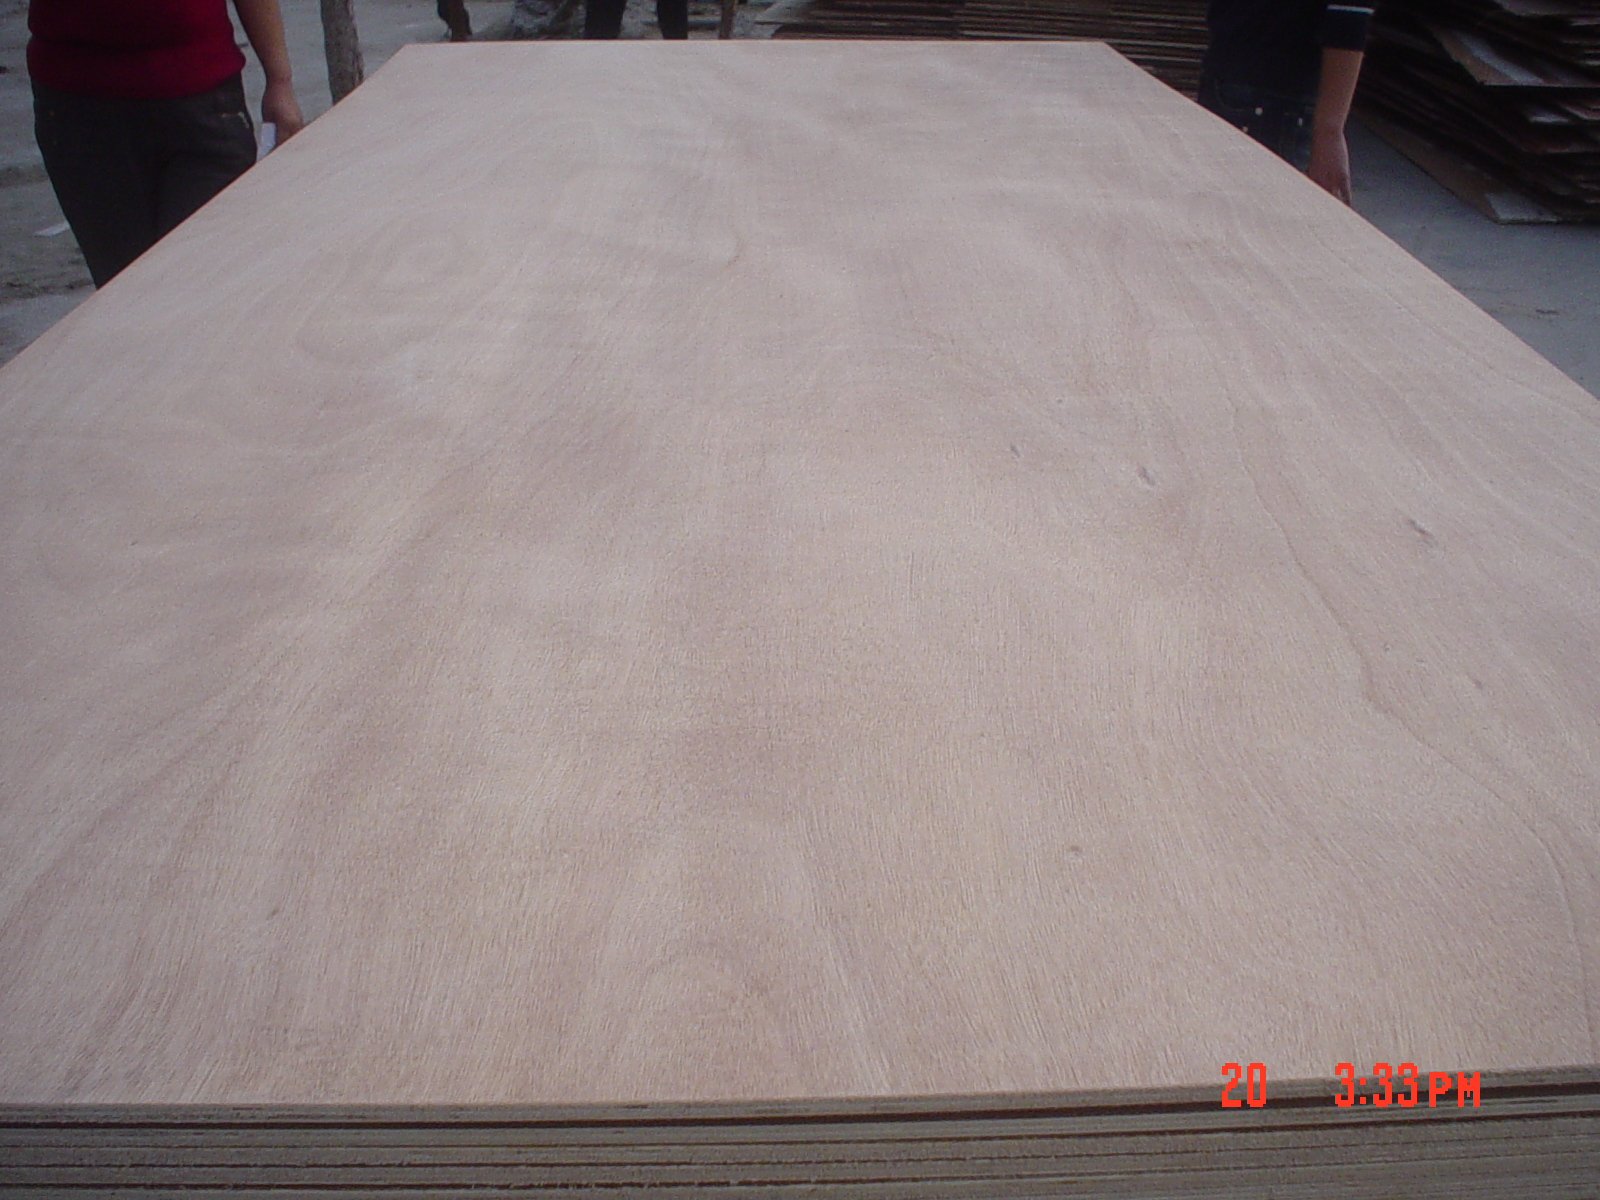
The panel only works if it stays attached, and plywood anchors decide whether a wall sheath, a shelf, or a shop build holds its line under load. The right anchor matches the backing: studs for walls, concrete for slabs, and framing for floors, with the pull-out strength the panel needs. This guide covers the fastener types, the spacing rules, and the pilot holes that keep plywood anchors from splitting the sheet.
An anchor earns its place by what it bites into. Wood studs take screws or nails with full thread grip, while concrete and masonry need a sleeve or wedge anchor that expands into the hole. The backing sets the anchor type before the tool leaves the shop.
Into timber framing, a wood screw holds the panel with the thread biting the stud across the full depth of the anchor. Pre-drill the pilot hole near the panel edge so the screw never starts a split in the veneer. The screw pulls the panel flat against the framing and holds under the working load.
Concrete walls and slabs need a sleeve anchor, wedge anchor, or concrete screw that grips the drilled hole through expansion or the formed thread. Drill with the hammer bit, clean the dust from the hole, and set the anchor to the marked depth. The anchor spreads its hold into the masonry the panel hangs on.
The hardware aisle carries more anchors than a plywood job needs, so the short list keeps the selection simple. Construction screws lead for framing work, while sleeve anchors and toggle bolts carry the load in hollow backing. Each anchor has its panel and its pull-out limit.
Construction screws fix plywood sheathing, blocking, and shop walls to framing with a deep thread and a countersunk head. The screw drives flush without the hammer of a nail and backs out clean for a rebuild. Choose the length that reaches the framing through the panel thickness.
A sleeve anchor expands in the concrete hole for the heavy panel, while a toggle bolt spreads its wings behind the drywall for the hollow wall. The hollow backing cannot hold a plain screw, so the toggle carries the load across the back face. Match the anchor rating to the panel weight it must carry.
Anchors hold through a pattern, not a single point, so the spacing rule keeps the plywood flat and the seams closed. Sheathing calls for fasteners every 150 mm at the panel edges and wider across the field. The pattern follows the framing lines so every anchor lands on solid backing.
Set the edge fasteners close enough to seal the seam, then space the field fasteners wider where the panel spans between the framing. The tighter edge line stops the sheet from cupping and keeps the joint closed under the load. Follow the span of the framing rather than a fixed count.
The anchor must reach the backing by enough depth to hold, with the panel thickness plus the bite into the framing. A short screw in a thin panel pulls out under load before the panel fails. Read the pull-out rating on the box and keep the working load inside it.
A pilot hole keeps the panel edge whole and lets the anchor sit flush without the blister of a driven nail. Drill near the sheet edge where the veneer runs close to the cut line. The clean hole sends the anchor straight into the backing.
Set the pilot a few millimetres inside the edge line with a bit slightly smaller than the screw shank, so the thread bites without wedging the veneer. On thin plywood, the pilot carries the whole difference between a tight anchor and a split corner. Keep the bit sharp and the hole clean.
Seat the anchor head just below the face so the filler covers it and the finish reads flat. A proud head telegraphs through the paint and catches the sander on the next pass. Countersink once and the panel face stays clean for the finish.
Most plywood anchor failures trace to the same few errors: anchoring into the hollow behind the drywall, skipping the pilot at the panel edge, and over-driving the fastener into the veneer. Each mistake loosens the panel over the service life. Catch them in the layout, not after the sheet is up.
A screw into hollow drywall holds nothing until a toggle or a plug spreads behind the sheet. Scan for the studs and lay the anchor pattern on the framing lines. The anchor must find the solid backing, or the panel hangs on the wings of the toggle alone.
An over-driven head crushes the veneer and leaves a crater that the finish cannot hide. Set the depth with the driver collar and stop the head flush with the face. The panel holds the same load without the crushed ring around the anchor.
Work that carries weight, like shelving and bench tops, needs anchors sized for the load rather than the panel. Heavy plywood shelves on a wall take lag screws into the studs, and the load rating of each anchor sets the shelf capacity. Plan the load before the anchor reaches the shelf.
Wall-mounted plywood shelving takes lag screws driven into the studs, with the pilot sized for the lag shank so the threads grip the framing. The lag carries the shelf load deep into the stud instead of the surface grip of a finish screw. Space the lags along the shelf span to spread the load.
Read the anchor rating on the package and hold the working load below it, because the listed pull-out figure assumes solid backing at depth. A shelf that loads close to the rating fails the day it gets overloaded. Keep the reserve in the anchor for the load it will see.
These are the questions builders ask most with plywood anchors.
Construction screws fix plywood to framing, sleeve anchors hold it to concrete, and toggle bolts carry hollow backing. Match the anchor to what the panel is bolted into.
Fasteners run tighter at the panel edges, roughly every 150 mm, and wider across the field where the sheet spans the framing. Follow the framing lines so every anchor lands on solid backing.
Yes, a pilot hole at the panel edges stops the veneer from splitting and keeps the anchor seated flush. Drill near the cut line where the plys run close to the edge.
Use a sleeve anchor, wedge anchor, or concrete screw set in a clean drilled hole. The anchor expands or threads into the masonry to carry the panel load.
The anchor rating on the package sets the limit, and the working load stays below it in solid backing. Heavy shelves take lag screws into the studs rather than a light anchor.
Pick the anchor by the backing, set the spacing on the framing lines, and pre-drill every edge so the panel holds without the split. The load rating and the pilot hole carry the build for the years. Measure the panel span, mark the framing lines on the sheet, and set the anchor pattern before the drill touches the panel, because the layout decides the hold. An anchored panel that follows the framing sits flat and holds its line long after the finish goes on.
Exterior plywood work takes galvanised or stainless anchors so the fastener does not rust out at the panel edge while the sheet stays weathered. Match the anchor finish to the exposure, and the panel edge stays sealed against the damp around every hole. The exterior build lasts when the anchor and the panel share the same exposure rating.
When the project needs plywood that takes fasteners cleanly across the sheet, HYY supplies sheathing and furniture panels with the face and thickness marked on the sheet, and the Commercial Plywood and OSB Board pages show the working panels for the anchored build. The complete plywood product range backs the panel before the anchors arrive.