Our Location
5th Floor, Huake Center, Lanshan District, Linyi City, Shandong Province, China

5th Floor, Huake Center, Lanshan District, Linyi City, Shandong Province, China
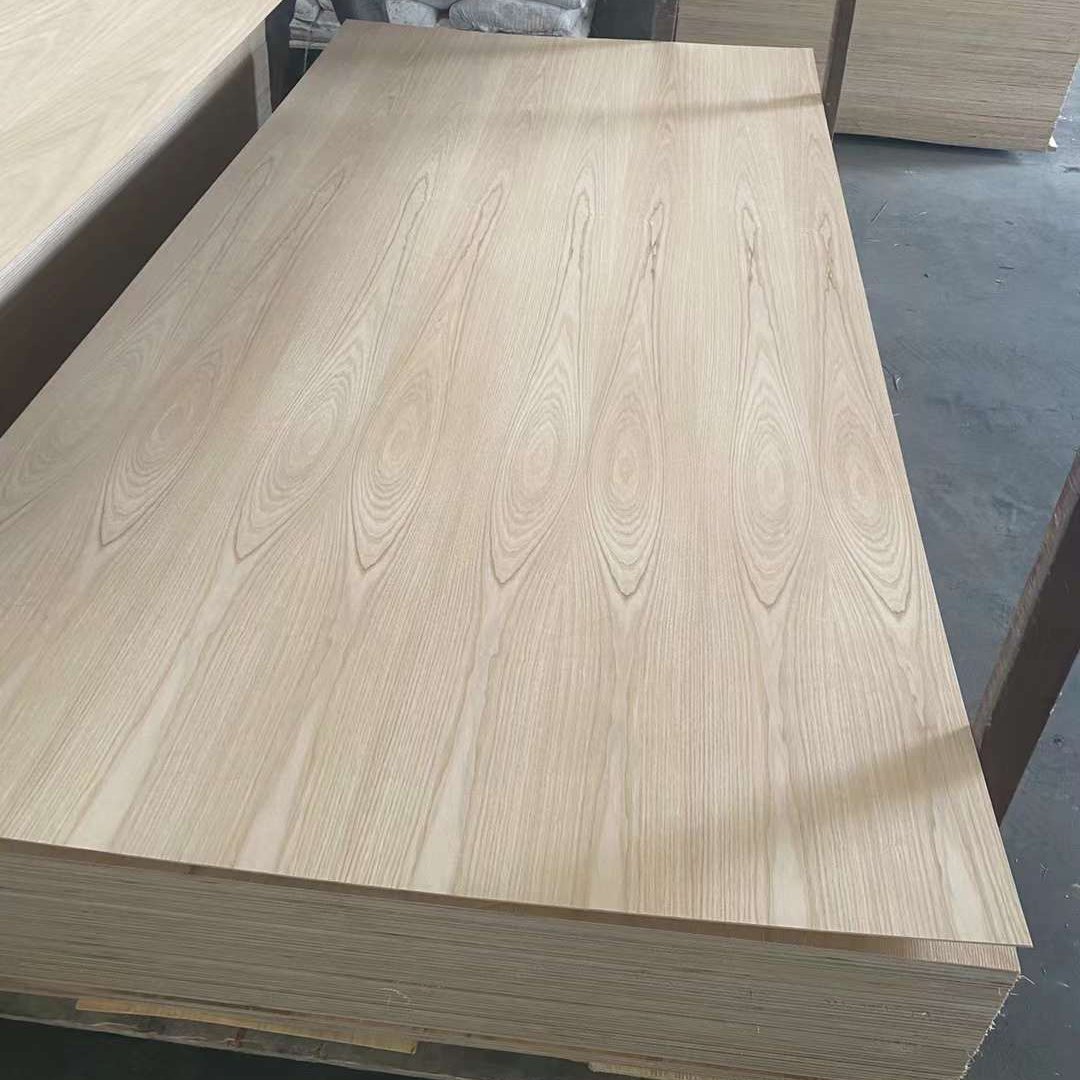
Knowing how to join plywood changes a stack of sheets into a cabinet, a workbench, or a wall without nails poking through the face. Plywood joints fail when builders treat the panel like solid timber and screw straight into a weak edge. This guide covers the joinery methods that hold strong on plywood, the fasteners that grip real veneer layers, and the edge techniques that hide a factory cut.
Plywood offers strength in the plane of the sheet but relies on its layers at the edge, so the joint strategy follows the direction of the load. A joint that carries weight across the face holds differently from a joint that carries load along the edge. Design the joint around the plywood construction and it stays tight for years.
An unsanded plywood edge exposes fibres that split and pull out when you drive screws near the edge. Fasteners close to the edge grab only the outer veneers and let the screw strip out under load. Move the fastener deeper into the panel, use a block, or glue two layers together before the joint sees stress.
The face veneers carry the stiffness across the panel, so a joint that screws through the face into a cross-member holds far more than a screw into the edge alone. Use that difference: screw through the face where fasteners show, or reinforce the edge where they must hide. A glued block or dowel turns a weak edge joint into a strong one.
A plain butt joint answers the framing question quickly, but the screw into the edge does the holding. Reinforce the joint with a glue block, a plywood gusset, or a metal bracket screwed through the face on both sides. The reinforcement spreads the load across the panel instead of asking one edge screw to carry everything.
Apply wood glue to the mating edges, clamp the panels square, and fix them with screws or nails driven at an angle where the fastener clears the edge. Clamp pressure closes the joint while the glue cures, and the screws hold the parts together at the joint line. For extra strength, screw a plywood block behind the seam so the fastener passes through two faces.
Corner brackets and L-shaped metal plates screw through the face of each panel and carry the joint without relying on the edge. Screw-through-the-face fixing transfers the load into the strongest part of the sheet. The bracket works for shelf corners, frame joints, and anywhere the joint must hold weight.
Edge-to-edge joints that must line up flat use biscuits or dowels to register the panels while the glue cures. A biscuit slot cut with a jointer holds an oval wafer, and a dowel joint pairs holes drilled opposite each other with a tight fit. Both methods align the faces and add glue area along the seam.
Mark the seam, cut matching slots with the biscuit joiner, and test the fit before gluing. Shape the biscuit to hold the panels flush, apply glue to the seam and the slot, and clamp the panel across the joint. Biscuits keep the surface level better than hand-marked dowels, which matters on furniture doors.
Drill matching holes with a dowelling jig, set the dowels with glue, and press the panels together. The dowels register the panels and stop the seam from slipping while the glue dries. Use a clamping board across the width so the panels stay flat along the whole joint.
For building joints quickly, common practice pairs wood glue with screws or nails through the face into the frame below. The glue carries the load and the fastener clamps the parts during the cure. Screw length and pilot hole size decide whether the veneer splits at the face.
Use a screw long enough to reach into the second panel but short enough to avoid punching through the far face, and drill a pilot hole that lets the thread bite without splitting the veneer. Countersink the head below the surface where the joint will be painted. A screw driven without a pilot into a face edge often blows out the outer layer.
Screws clamp but do not seal, and edge screws can strip under vibration. A thin, even glue line carries the shear load, while the screw simply holds the parts together during the cure. Let the glue reach the working strength before the joint carries weight, since most joints fail when the build moves too soon.
Shelves meeting a side panel form a T-joint, and a bench leg meeting a top forms an L-joint, and both rotate under weight unless the joint resists the leverage. A screw into the edge of the shelf bends out of a thin panel, so add a cleat, a dowel, or an inset block behind the junction. The extra piece lets the fastener pass through the face of the support.
Glue and screw a cleat to the inside of the support, then screw the shelf down onto the cleat through the shelf face. The fixing path goes face to face and the joint carries the load instead of the panel edge. French cleats add a sloping lock so the load transfers into a wide glued surface.
Drill dowel sockets through the shelf face into the side panel and set two dowels before assembly. The dowels give the joint a second shear plane and stop the shelf from rotating under load. Clamp the assembly square while the glue cures, then the joint looks invisible from the outside.
A visible screw head breaks the clean line of a plywood panel, so joiners plan the fastener route before the assembly. Pocket holes hide the screw inside the joint, edge splines keep the face clear, and countersinking with a plug covers the head in matching wood. Each method protects the look while the joint carries the load.
A pocket hole jig drills an angled pilot that enters the panel through the inside face and exits through the edge. The screw bites into the second panel without a visible head on the front, and the hole disappears behind a small plug. Set the bit depth to the screw length so the point clears the far face.
Countersink the screw head, drive it below the surface, and cover the hole with a wood plug or a matching paste filler. Cut the plug from the same batch of veneer so the grain continues across the seam. Sand the filled hole flush and the fastener vanishes from a painted or oiled surface.
Where the design allows, glue a hidden block behind the seam and screw through the block into both panels. The block positions the joint, carries the load, and keeps every visible face clean. The extra piece costs a few minutes and removes the need for visible fasteners altogether.
Frames that lock a plywood panel into a groove hide the joint completely and hold without fasteners showing. A routed groove or dado in the frame receives the panel edge, and glue locks the assembly. The panel sits flush or slightly proud, and the joint reads as one solid piece. Frame-and-panel construction suits doors, panels, and cabinet fronts.
Cut a rabbet or dado on the joinery table to the panel thickness, slide the panel in, and glue the frame around it. The frame carries the load and the panel fills the opening without stress at its edge. Set the groove depth to the panel thickness so the construction stays flat.
Cut a matching slot in both meeting edges and fit a plywood or hardwood spline across the seam. The spline triples the glue area and stops the joint from sliding while it cures. A spline joint beats a plain butt for load and for keeping the face flush.
Success on plywood joints comes from preparation, not effort at the clamp. Dry-fit every joint, clamp it square, and check both faces flush before any glue touches the parts. Sand the seam once the cure finishes and keep the joint dry, because water swells the edge and loosens the glue line over time.
Seal exposed edges and keep the build in a stable room, then the joint holds its line for years. When the project closes in the workshop, the strongest panels start with a flat, stable sheet, and HYY supplies factory-flat boards that stay true at the edge for clean joints. Start with Commercial Plywood for framing and joinery, and finish with Melamine Plywood for furniture faces that resist the sanding a raw edge needs. The complete plywood product range covers the sheet behind every strong joint.