Our Location
5th Floor, Huake Center, Lanshan District, Linyi City, Shandong Province, China

5th Floor, Huake Center, Lanshan District, Linyi City, Shandong Province, China
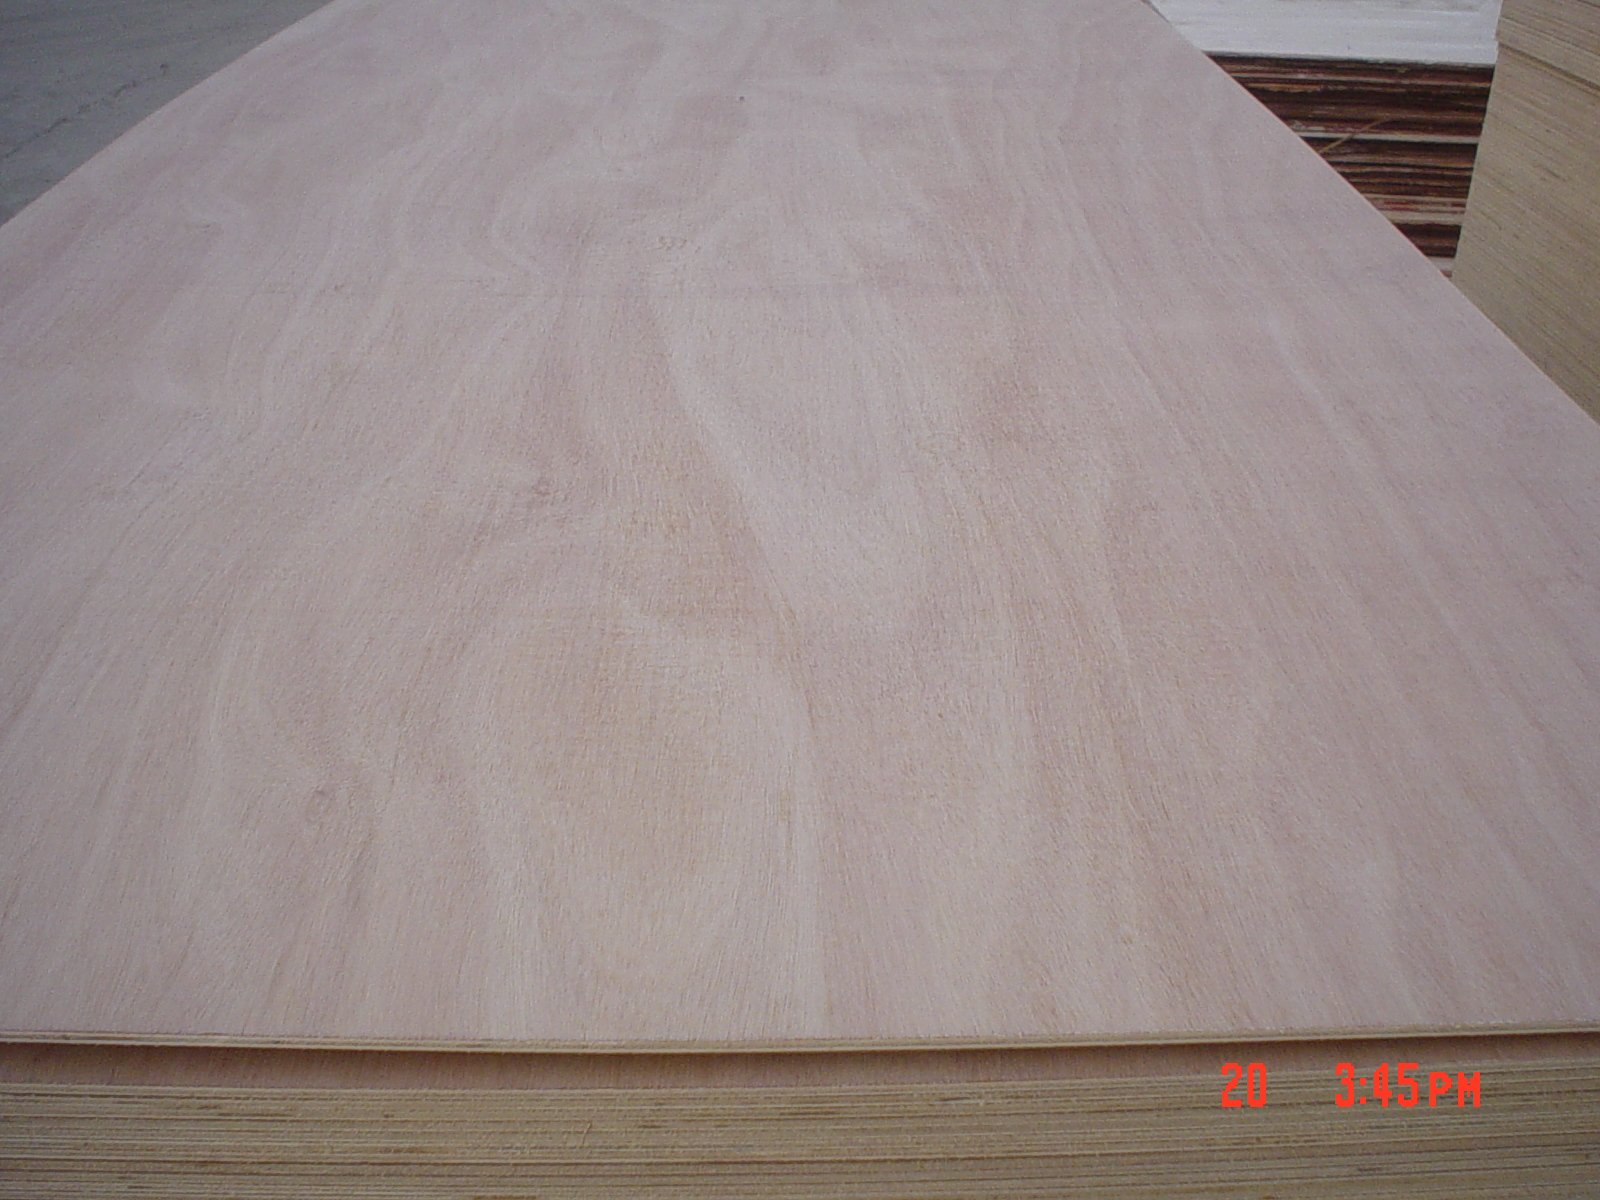
The cutting guide plywood job demands starts and ends at the same point: a straight, clean edge that does not need hours of patching. Plywood cuts badly with the wrong blade and the wrong technique, leaving blown-out veneer and ragged edges that ruin a otherwise good sheet. This guide covers the tools, setups, and methods that produce square, tear-free panels for furniture, shelves, and general building work.
The blade decides the cut more than the machine does. A blade made for framing lumber chews through veneer and leaves a rough edge, while a crosscut or plywood blade with many teeth slices the face cleanly. Look for a blade with 40 teeth or more for plywood, and check the tooth shape before you mount it on the saw.
Crosscut blades and dedicated laminate or plywood blades deliver the cleanest result on panel faces. A triple-chip grind resists splintering at the surface, and a thin kerf reduces waste and the strain on a small saw. General-purpose combination blades cut acceptable edges on utility work, but the dedicated blade pays for itself on visible faces.
A dull blade heats the wood, burns the face, and throws chips that tear the veneer. Replace or re-sharpen before the cut when the blade starts pushing rather than slicing. The small cost of a fresh blade beats the cost of a wasted sheet or an hour of sanding on every panel.
A full 2440 x 1220 mm sheet will not fit a small table saw, so most cutters use a circular saw with a straightedge guide. Clamp a straight aluminium or timber rail across the sheet at the cutting line, measure both ends of the rail so the line stays parallel, and run the saw base against the guide. The result is a dead-straight edge even on a sheet that would never fit a bench saw.
Track saws and guided circular saw systems cut full sheets in place with zero setup measuring, because the track clamps to the sheet and the saw follows it. A shop-made guide costs less: screw a straight piece of plywood or aluminium to a wider base, set the distance to the blade, and clamp it to the panel. Both methods beat free-handing a cut that wanders.
Score the cutting line on the good face first with a knife, then cut from the same side. The score breaks the veneer fibres so the blade exits on a clean line instead of pulling them out. For the smoothest face, many operators set the saw to cut slightly deep and finish with the score line visible on the good face.
When the sheet fits a bench saw, support matters more than speed. Feed the panel smoothly with an outfeed table or a roller stand so the sheet never drops at the end of the cut, and keep the good face up because a table saw blade cuts on the top surface. A struggling feed stalls the blade and burns the edge.
Rip long strips with the fence set once and the panel held tight to it through the whole pass. A panel that drifts away from the fence produces a tapered strip and a jammed cut. Push with both hands behind the blade line, and use push sticks on the final cuts where the offcut gets small.
Crosscuts on a table saw wander against the fence, so use a crosscut sled or a straight clamp-on guide for accurate 90-degree ends. Squaring the panel against the sled fence gives furniture-grade corners every time, and the sled prevents the kickback risk of a freehand crosscut.
Small panels and cut-to-size pieces cut cleanly by hand when the setup is right. A sharp handsaw with a fine tooth count and a straightedge clamped to the line gives an acceptable cut on 6 to 12 mm panels, and a knife score on the good face still stops tear-out. For curved parts, a jigsaw with a fine blade cuts the curve and leaves a light sanding job behind.
Circular shapes, sink cutouts, and curved furniture parts call for a jigsaw with a plywood or laminate blade. Set the orbital action low to keep the cut smooth, and cut slightly inside the line so the final trim with sandpaper lands exactly on the mark. Slow the feed near corners to avoid burning the veneer.
Thin panels flex under the blade, so back the cut with a second sheet or cut on a sacrificial surface. A 5 mm panel bends and chatters against the saw, producing a wavy edge that closes poorly in a cabinet. A straightedge clamped tightly and a steady feed control the flex and give a repeatable cut.
A fresh plywood edge shows the core, and the exposed veneer line swells and drinks moisture if it stays raw. Sand the edge lightly to remove blade marks, then seal it with edge banding, paint, or a compatible wood sealer before the panel goes into service. The seal prevents the classic swelling that ruins hidden cabinet edges.
Iron-on edge banding closes the raw edge with a matching wood or laminate finish in minutes. Apply the band, trim the overhang with a flush cutter, and sand the corners smooth for a factory look. The band protects the edge and hides the core veneer line from every angle.
Paint the edge after a light sand and a primer coat, because bare veneer drinks the first finish coat unevenly. Seal the end grain where the panel is cut, especially on plywood that will face any moisture, and let each coat dry before the next. A sealed edge turns a raw cut into a durable part of the finished piece.
Cutting plywood throws fine dust, sharp veneer splinters, and light offcuts, and the dust carries into the lungs. Wear a dust mask, run a vacuum or extractor at the tool, and clear the waste from the floor around the cutting station. Push sticks and feather boards keep hands clear of the blade, and a clean bench keeps the cut line visible.
Keep the blade guard in place and never reach across the spinning blade for an offcut. A panel that binds against the fence can kick back, so maintain a smooth feed and use a feather board to hold the stock tight. Think through the cut before you switch on, because the moment the blade spins is not the time to plan the route.
Keep usable offcuts flat and labelled for the next job, and dispose of splintered waste promptly. Offcuts from a full sheet convert directly into shelves and backing panels, so store them where the moisture and dust cannot damage the edges. A tidy cutting station makes the next cut safer and faster.
These are the questions buyers raise most when planning plywood cuts.
A crosscut or plywood blade with 40 teeth or more cuts clean veneer faces with minimal tear-out. A triple-chip grind or laminate blade adds even more edge quality on visible work.
With a circular saw, cut with the good face up and score the line first so the blade exit stays clean. On a table saw, the blade cuts the top face, so keep the good face up there as well.
Use a circular saw running along a clamped straightedge or a track system. Support the sheet on sawhorses and measure both ends of the guide so the cut stays parallel.
Tear-out comes from a dull blade, a fast feed, or no score line. Score the good face, use a sharp fine-tooth blade, and feed smoothly to keep the veneer intact.
Yes, for curves, cutouts, and small panels. Use a fine fine-tooth laminate blade, keep the orbital action low, and score the line to protect the good face.
Plan the cutting layout on paper first so every part lands on the sheet and the offcuts stay useful. Select the face you want visible, clamp the guide on that side, and run the first test cut on a scrap piece to confirm the blade setting. When a project needs many straight, clean panels in consistent thickness, HYY supplies factory-flat boards that cut cleanly at the edges, and the Commercial Plywood and Melamine Plywood range keeps the core tight for tear-free panels. Browse the complete plywood product range before you set the fence, and the cut becomes the easiest part of the job.