Our Location
5th Floor, Huake Center, Lanshan District, Linyi City, Shandong Province, China

5th Floor, Huake Center, Lanshan District, Linyi City, Shandong Province, China
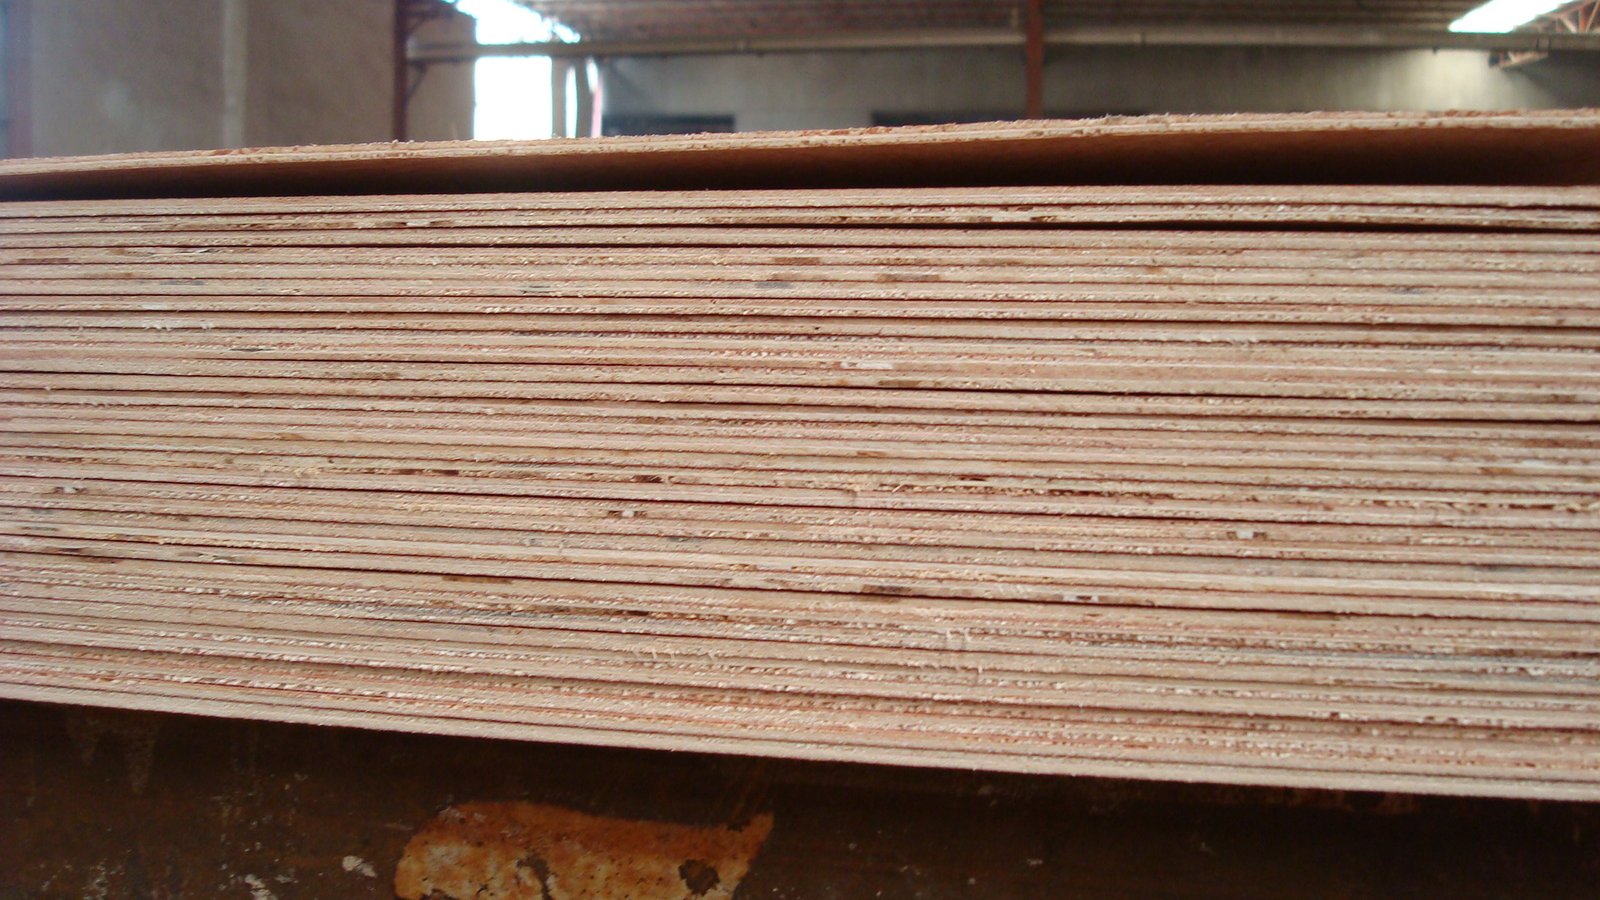
The wall panel that must lift off without the visible screw takes the interlocking clip, and plywood z clips give the sheet the hanging joint that locks one panel to the next. The Z profile carries the load on the horizontal legs while the vertical face fixes to the framing, so the panel hangs flat and lifts clear for the service behind. This guide covers the clip fit, the spacing, and the fixing that keeps the sheet seated for the years.
The clip runs in the pair: one leg fixed to the framing and the mating leg set into the panel, and the two lock when the sheet drops into place. The interlock carries the weight down the face while the panel stays flush against the wall. That lift-off lock is the point of the clip.
The wall leg takes the load onto the framing while the panel leg sits in the groove of the plywood, and the drop-in lock closes the joint without the fastener through the visible face. The pair carries the panel and hides the fix. Set both legs before the sheet arrives.
The panel lifts clear of the wall leg so the wiring and the plumbing behind the sheet stay reachable without the face damaged by the screw heads. The removable panel keeps the service route open. Lift the sheet at the scheduled check.
The clip gauge follows the weight that the sheet brings, because the thin panel takes the light clip while the loaded sheet needs the steel that does not creep under the load. The leg length suits the panel thickness so the lock sits full. Read the weight against the gauge.
The heavy sheet takes the gauge rated for the load while the display panel serves the light clip, because the steel that creeps drops the panel that the lock should hold. The rated gauge carries the weight with the reserve. Match the gauge to the sheet before the layout.
The leg that sets into the panel must suit the plywood thickness so the interlock seats full without the gap that lets the sheet rack. A leg short of the thickness locks partial and works loose. Measure the panel against the clip profile.
The clips hold as a team, so the spacing along the panel decides whether the sheet hangs flat or bows away from the wall between the supports. Set the clip line to the span the panel allows. The even spacing keeps the face true.
Space the clips so the sheet never reads as a spring between the supports, and add the centre clip on the wide panel that the outer pair cannot hold alone. The spaced line carries the panel flat. Measure the width and set the count.
Set the wall legs on the level line because every panel that drops onto the run follows that line, and an unlevel row reads crooked at the seam. The level run closes the joint. Snap the line before the first clip fixes.
The clip carries what the framing fixes hold, so the fastener into the stud sets the whole load path behind the panel. Fix every clip into the solid backing rather than the lining. The framed fix carries the panel.
The clip screw drives into the stud or the framing member rather than the hollow lining that pulls under the load, because the weight lands on that fastener line. The framed screw holds the clip. Scan for the framing before the line is set.
Seat the clip screw to the flat head without the proud dome that holds the panel off the wall and reads as the bump under the face. The seated screw keeps the sheet flush against the framing, because a proud dome lifts the panel that the clip set level. Stop the driver at the clip hole and check the head with the finger before the next clip goes in.
The lock works when the panel groove and the clip profile read as the matched pair, because the groove routed into the sheet carries the leg that hangs the weight. Read the groove against the clip before the panel arrives.
The groove cut across the panel takes the clip leg full depth, so the sheet drops onto the run without the shoulder that keeps the face off the wall. Cut the groove to the clip profile and the lock closes. Test the fit on the offcut before the panel is cut.
The hanging panel fails in a few familiar places: the clip in the hollow lining, the spacing that lets the sheet bow, and the partial lock that works off the line. Each mistake goes back to the layout rather than the steel. Frame, space, and seat.
A clip fixed in the lining pulls under the weight that the panel brings, so move the line onto the framing where the screw carries the load into the stud. The framed clip holds the sheet. Find the framing before the panel loads.
A wide sheet between the outer clips bows away from the wall, so add the centre clip or step the panel thickness up to the stiffer sheet. The added support holds the face true. Count the clips against the width.
The removable sheet earns its place at the service wall, the plant panel, and the equipment face where the access matters more than the permanent fix. The scheduled lift keeps the panel square for the next drop. Treat the lock as the working joint.
Lift the panel straight up off the wall legs rather than prying it away, because the prying action deforms the panel leg that the next drop needs. The square lift keeps the groove whole. Two hands take the sheet off the line.
Line the panel legs over the wall run and drop the sheet home so the interlock closes without the force that chips the groove, because the seated lock holds by its fit rather than the hammer. The clean drop locks the panel onto the run without the force that chips the routed groove. Sight the line before the sheet lowers, and keep the panel square to the wall as the legs meet the run.
These are the questions builders ask most about the hanging clip.
The clip hangs the plywood panel on the framed face with the interlock that lifts off for the service behind, so the visible face carries no screw head. The pair locks the sheet flat to the wall.
Space them along the span so the sheet never bows between the supports, and add the centre clip on the wide panel. Set the wall legs on the level line before the panels drop.
The load follows the clip gauge and the framed screw behind it, so match the rated gauge to the panel weight and keep the fastener in the stud. The rated pair carries the sheet with the reserve.
The loaded clip fixes into the framing where the screw carries the weight, because the hollow lining pulls under the load. Scan for the studs before the clip line is set.
Yes, the panel lifts straight off the wall legs for the service behind, and drops back onto the run without the face damaged by the screws. Keep the lift square so the groove stays whole.
Gauge the clip, level the line, fix into the framing, and space the run to the span, and the plywood z clips hold the panel flat while the lift-off lock keeps the service open. The seated pair carries the sheet for the years. When the project needs panels cut for the clipped wall, HYY supplies sheets with the thickness and face marked for the hanging work, and the Commercial Plywood and Melamine Plywood pages show the panels for the service face and the finished wall. The complete plywood product range backs the order before the clip line is marked.