Our Location
5th Floor, Huake Center, Lanshan District, Linyi City, Shandong Province, China

5th Floor, Huake Center, Lanshan District, Linyi City, Shandong Province, China
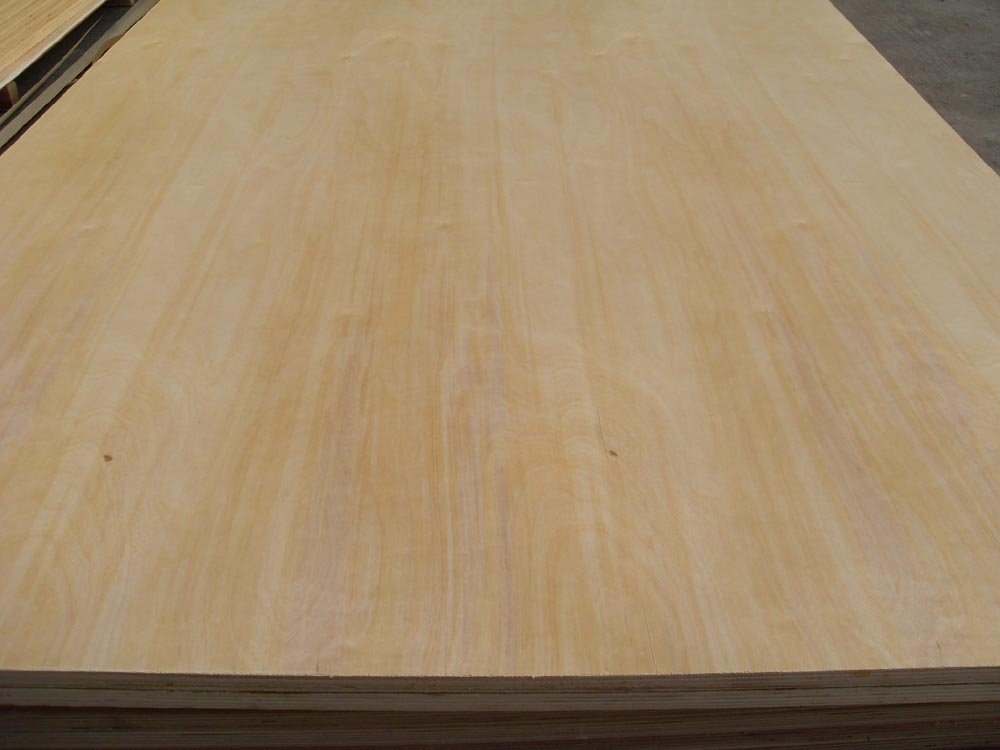
The subfloor takes the sheet that locks into its neighbour, and plywood t&g flooring carries the tongue and groove edge that closes the seam and holds the deck flat under the live load. The interlocking edge keeps the panels flush at the joist line, so the floor reads solid underfoot rather than stepping from panel to panel. This guide covers the edge profile, the span rating, and the installation steps that keep the seams closed for the service life.
The tongue on one panel fits the groove on the next, and the interlock carries the load across the seam so one panel cannot step below its neighbour underfoot. The edge profile closes the gap that the square-edged sheet leaves open and stiffens the deck across the joint. That lock is the whole point of the t&g sheet.
The tongue rides in the groove across the full sheet length, and the seated joint keeps the panels flush where the joist meets the edge. The lock carries the live load across the seam rather than on each panel alone. Tap the sheet home and the joint closes.
A closed seam stops the squeak that the rubbing panel edges make under the walking load, and it keeps the finish floor above from reading the joint line through the covering. The t&g edge holds the deck as one plane. The seam decides the quiet floor.
The span rating on the sheet sets the joist spacing the panel bridges without the bounce, and the t&g edge needs the thickness that carries the tongue without the shear at the profile. Match the rating to the framing before the sheets arrive. The stamp leads the order.
The span rating tells the joist spacing the panel serves at the live load, so the deck reads solid rather than springing between the framing. A rating short of the framing spacing opens the bounce that the edge cannot close. Read the stamp against the plan.
The thin sheet shears at the tongue under the load, while the rated thickness keeps the profile whole at the seam that carries the foot. The tongue needs the material around it to hold. Match the thickness to the span and the load.
The install runs from the framing check to the seated seam, because a flat deck starts with the true joists and finishes with the tongue driven fully into the groove. Work the sheets across the framing with the staggered joints and the fastener line on the joists. The seated sheet is the flat floor.
Start the first panel at the wall with the tongue facing the room so the groove closes the next sheet, and square the first row because every row follows its line. The first sheet sets the pattern for the deck. Check the square before the fasteners go in.
Tap the sheet along the edge with the block so the tongue seats fully in the groove without the damage at the profile, and keep the seam tight as the fasteners draw the panel down. A half-seated tongue opens the joint under the load. Tap it home before the screws set.
Fasten every panel to the framing with the rated screws or nails at the spacing the code sets, because the edge lock holds the seam while the fastener holds the sheet to the joist. Both lines work together. Keep the fasteners on the framing rather than the field alone.
The deck fails in a few familiar places: the unseated tongue that opens the seam, the sheet fastened off the joist line, and the rating short of the framing span. Each mistake goes back to the layout rather than the panel. Seat, align, and read the stamp.
An unseated tongue leaves the joint proud, and the finish floor telegraphs the line while the seam squeaks under the foot, so tap the sheet until the groove closes. The seated joint holds the plane. Close the seam before the covering goes down.
The squeak comes from the rubbing edges or the loose panel on the joist, so seat the tongue and add the fastener at the framing where the sheet lifts. The fixed panel and the closed joint stop the noise. Find the rub before the floor is covered.
The deck sheet follows the span, the moisture, and the covering that sits above, because the subfloor under the tile meets a different exposure than the deck under the carpet. Read the three against the plan and the sheet class follows. Match the panel to the load it carries.
The finish floor needs the flat, locked base that the t&g edge provides, because the covering telegraphs every proud seam and every bounce that the deck allows. The rated thickness keeps the plane true under the live load. Take the tongue and groove sheet for the base that carries the room, and keep the joints staggered across the joists so the seams never line up on the framing.
The roof deck and the wall sheathing that meet the covered exposure take the structural sheet rated for the framing spacing, while the OSB Board covers the large protected areas at the trade rate. The structural panel serves the frame rather than the walking load. Choose the panel class by the exposure and the span.
The deck that carries the room repays the light care: keep the moisture off the seams during the build, check the fasteners at the edges, and cover the panels once the structure closes. The maintained seam stays quiet through the seasons. The care plan protects the lock, and the seated seam carries the room through the seasons without the squeak or the proud line underfoot.
Keep the standing water off the open deck during the build because the moisture enters the tongue and swells the joint that the finish cannot hide, and cover the floor once the roof closes. The dry seam holds its line. Protect the edge while the walls go up.
Check the edges and the fasteners before the damp season, because the panel expands across the grain and the seam takes that movement with the groove. The seated joint absorbs the seasonal shift. A quick check keeps the floor flat.
These are the questions builders ask most about the t&g deck.
It is the subfloor sheet with the tongue on one edge and the groove on the other, so the panels lock into one flat plane across the joists. The seam closes under the interlock rather than the square edge.
The locked seam carries the live load across the joint so one panel cannot step below its neighbour, which stiffens the deck over the square-edged sheet. The fastener line to the framing still holds the panel down.
The marked side and the panel face follow the plan, while the tongue faces the room at the start so the groove closes the next sheet. Keep the span stamp readable for the inspection.
A bead of construction adhesive in the groove quiets the joint further, while the fasteners to the framing carry the structural load. Glue and fastener work together on the seated panel.
The thickness follows the span rating for the joist spacing and the live load, with enough material around the tongue to hold the seam. Match the stamp to the framing before the order.
Seat the tongue, fasten to the framing, and read the span stamp against the plan, and the plywood t&g flooring holds the flat, quiet deck through the years of service. The closed seam is the whole advantage of the profile. When the build needs subfloor sheets cut for the joist spacing, HYY supplies tongue and groove panels with the span rating and thickness marked on every sheet, and the Commercial Plywood page shows the structural deck panels for the frame. The OSB Board and Commercial Plywood pages show the deck panels for the frame, and the complete plywood product range backs the floor order before the joists are set.