Our Location
5th Floor, Huake Center, Lanshan District, Linyi City, Shandong Province, China

5th Floor, Huake Center, Lanshan District, Linyi City, Shandong Province, China
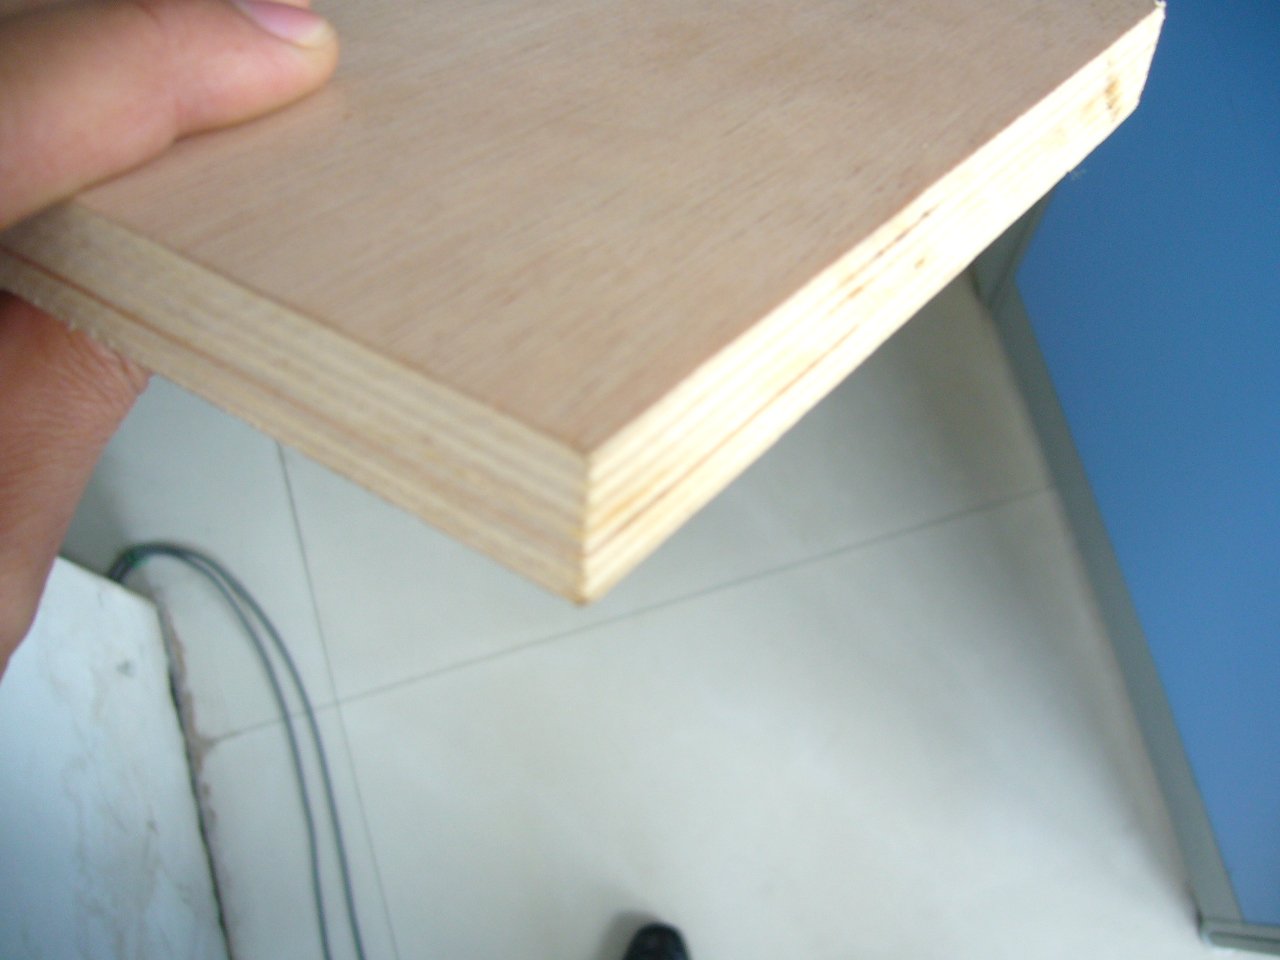
A plywood ceiling hangs the warmth of timber over the room and installs faster than the plaster alternatives when the joists are ready. The sheet fixes across the framing in a running bond, takes the finish on the face, and carries the acoustic calm that a bare ceiling never gives. This guide covers the joist prep, the sheet layout, the fixing pattern, and the finish for a plywood ceiling that stays flat overhead.
The ceiling plane starts with the framing: the joists get checked for level and the low spots get shimmed before any sheet meets them. A plywood panel follows the line of the joists, so a warped rafter runs straight into a wavy ceiling. Set the plane first and the panels land flat.
Sight the joists with the level and shim the low rafters so the whole plane reads true before the first sheet goes up. The shim pack corrects the rafter line without the rebuild, and the panel follows the corrected plane. Level the framing once and every sheet after it lands flat.
Chalk the joist lines on the wall plate and the rafters so every fixing lands on the framing rather than the cavity. The lines guide the screw pattern and keep the panel attached to the structure. Mark the lines before the first sheet leaves the stack.
The plywood ceiling takes its layout from the wall: set the first sheet to the square corner and run the rows in a running bond so the joints stagger between the courses. The running bond spreads the seams and keeps the long lines off a single cross. Plan the layout on the floor before the sheets reach the ladder.
Offset the end joints between the rows so the ceiling never lines the seams into a weak cross, and the stagger breaks the acoustic path overhead. A ceiling that staggers its joints reads as a designed plane rather than a patched one. Set the offset to a third of the sheet length.
Leave a small expansion gap at the wall perimeter so the panel moves with the room humidity without the buckling. The gap hides behind the cornice or the trim and keeps the ceiling flat through the seasons. Measure the gap to the trim width before the sheets are cut.
The plywood ceiling fixes to the joists with screws or nails set at the framing lines, and the fixing pattern keeps the panel tight without the telegraph of an over-driven head. Drive the fixings straight and dimple them for the filler so the face stays clean under the finish. The pattern follows the joist spacing.
Screws hold the ceiling panel with the pull-out strength that the overhead load needs and back out clean for a rebuild, while nails drive fast on the large ceiling run. Both fixings land on the framing lines and dimple for the filler. Choose the fixing by the panel thickness and the joist spacing.
Set the fixings at the regular interval along each joist so the panel stays tight across the span without the oil-canning of an over-fastened sheet. The even pattern keeps the face flat and the seam closed. Follow the joist lines rather than a fixed count per sheet.
The ceiling seams meet on the framing, get taped and filled where the flat plane needs it, and hide behind the slat gaps in the board run. The cornice closes the perimeter and covers the expansion gap at the wall. Detail the seams in the install, not as a repair.
Tape the seam with the joint tape and fill it with the setting compound so the joint reads flat under the paint. Sand the fill level with the panel face before the primer goes on. The taped seam disappears under the finish once the fill is sanded true.
The cornice closes the perimeter, covers the expansion gap, and ties the ceiling plane to the wall finish. Fit the cornice after the panels cure so the trim sits on the stable plane. The trim hides the perimeter work and dresses the room.
The ceiling over the bathroom, the kitchen, and the conservatory lives with the rising damp, so the panel bond and the vent plan carry the moisture load. An exterior-bonded panel holds the humidity that swells the interior grades, and the vent moves the air that keeps the panel dry. Read the exposure zone before the sheets order.
The bathroom and kitchen ceilings take the exterior bond so the panel stays flat under the steam that the interior glue line cannot hold. The bond rating keeps the panel stable across the wet seasons. Confirm the exposure zone on the order line.
The ceiling vent moves the humid air out of the room so the panel never sits in the damp that grows the mould. Keep the vent clear and the plywood ceiling stays clean through the years. The vent plan belongs with the panel specification.
The plywood ceiling takes the same finish decisions as any visible panel: paint for the bright calm room, a clear oil for the warm grain, or a stain that tones the timber to the space. Seal the cut edges before the topcoat and the face stays even along the seam. The finish follows the room.
Prime the face and the filled seams before the topcoat so the paint takes evenly across the panel and the joint. Build the topcoat in thin layers for the hard film that the overhead position needs. The primed face reads uniform once the topcoat lands.
A clear oil or lacquer brings out the grain and the panel lines while protecting the face from the room oils and dust. The clear ceiling reads warm and live above the timber-furnished rooms. Apply the coats evenly so the sheen dries consistent across the plane.
The plywood ceiling carries the warm face in one fix, while the plasterboard needs the tape, the skim, and the full decoration to reach the same surface. The panel skips the skim and lands a finish-ready face straight from the sheet, and the timber mass softens the room acoustics. The choice follows the room style and the build schedule.
A plywood ceiling installs and finishes in the time the plaster system needs to tape and skim, and the panel face reaches the finish with less preparation. The build schedule gains the days the skim coat would take. The finish-ready face is the first reason the panel wins the race.
The layered mass of plywood absorbs some of the bounce that the plaster ceiling throws back, and the slatted run softens the room further. The timber plane reads quieter under the voice and the music. The acoustic calm comes with the warm face in the same panel.
These are the questions builders ask most with a plywood ceiling.
Yes, plywood fixes across the joists as a finish-ready plane that takes paint or a clear coat, and it installs faster than the plaster alternatives. The panel bond and the fixing pattern carry the overhead load.
Common ceiling panels run around the mid thickness that spans the joist spacing without the sag, with the thinner sheets on the closer fixing lines. Match the thickness to the joist spacing and the span.
The sheets fix to the joists directly, and extra blocking carries the seams that fall between the rafters. The blocking keeps every joint on solid framing.
The panel price per area sits close to the plasterboard, and the saved skim and decoration pull the total install cost down. The finish-ready face is where the saving lands.
Prime the face and the filled seams, then build the topcoat in thin layers, or seal the grain with a clear oil. Seal the cut edges first and the finish stays even along the seam.
Level the joists, lay the sheets in a running bond, fix along the framing lines, and finish the sealed face, and the plywood ceiling stays flat through the seasons. The timber plane carries the warmth and the acoustic calm the bare ceiling never held. When the ceiling project needs panels with a clean face for the finish, HYY supplies interior and exterior bonded panels in the ceiling thicknesses, and the Commercial Plywood and Fancy Plywood pages show the faces for the overhead finish. The complete plywood product range backs the ceiling before the ladder comes out.