Our Location
5th Floor, Huake Center, Lanshan District, Linyi City, Shandong Province, China

5th Floor, Huake Center, Lanshan District, Linyi City, Shandong Province, China
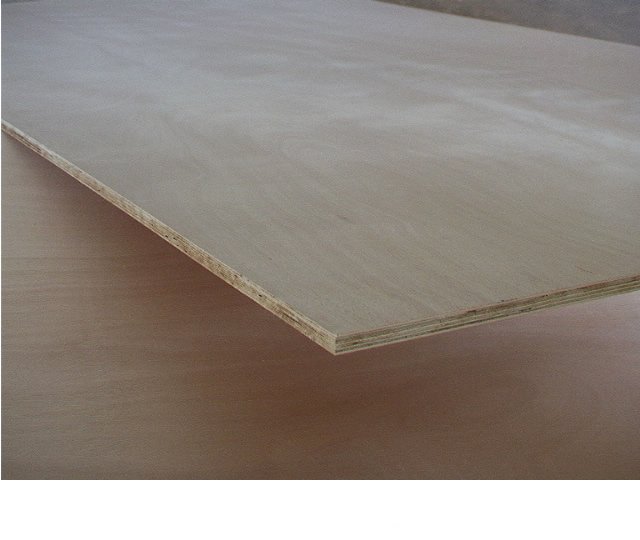
The sofa-side table that slides over the seat arm starts as a plywood c table cut from a single sheet, and the C profile keeps the footprint slim while the top reaches over the cushion. The panel build takes the afternoon and the flat-pack tables never match for the stiffness. This guide covers the design, the thickness, the joinery, and the finish for a C table that holds the laptop without the wobble.
The C table gets its name from the side view: the base, the upright, and the top form the letter that reaches over the sofa arm or the bed edge. The open side slides around the furniture, so the top lands over the cushion instead of beside it. The profile keeps the table close to the sitter and clear of the floor traffic.
The upright height sets the table at arm level over the seat, and the top depth reaches far enough to hold the laptop or the cup without the tip. Measure the sofa arm and the seat height before the cut list, because the C table lives on those two numbers. The height that fits one sofa may sit high on another.
The base footprint keeps the loaded top stable, so a narrow base tips under the reach of a heavy load. Widen the base or weight it until the table stands steady at full reach. The balance is a design number, not a finish detail.
The C table works on a stiff panel that resists the twist of the cantilevered top, so the thickness carries the whole design. An 18 mm sheet suits the upright and the top, and a doubled or braced panel carries the longer reach. Set the thickness by the reach and the load the table takes.
An 18 mm panel gives the upright the stiffness to hold the top flat under the laptop and the coffee cup, and the same sheet cuts every part of the table. The thickness reads solid at the edges once the banding goes on. Start with 18 mm unless the design calls the thinner profile.
A longer reach takes a laminated upright or a braced back so the top never flexes under the load. The doubled panel acts like a beam and holds the reach without the spring. Laminate the upright on the flat bench before the assembly.
The table parts come from one sheet: the top, the upright, and the base, with the joinery that ties the C together. Dados carry the upright into the top and the base, and screws back the joint where the dado cannot reach. The joint keeps the C true under the working load.
Route the dado across the top and the base so the upright seats fully and the joint closes with the glue line. The dado carries the load across the full width of the upright instead of the screw line alone. Cut the dado to the panel thickness so the fit seats without the gap.
Counterbore and screw through the top and the base into the upright, with the plugs covering the heads for the clean face. The screws pull the joint tight while the glue develops, and the plugs keep the furniture finish. Reinforce the joint that takes the reach load.
A C table tips when the loaded top outruns the base, so the balance gets the attention before the finish. Widen the base, extend it toward the reach, or weight the heel until the table stands steady at full load. The fix belongs in the build, not in the warning label.
Shape the base so the heel runs opposite the reach, and the loaded top stays inside the tipping line. A base cut square to the upright keeps the balance predictable from every side. Test the table with the full load before the finish goes on.
A heavier heel or a strap to the sofa arm holds the table steady where the light base tips. The strap keeps the table anchored while the laptop sits at the far edge. Set the fix into the design so the table stays safe in daily use.
The C table takes the furniture finish of the room: a clear coat that shows the plywood grain, a stain that tones the panel, or paint that matches the sofa. Band every visible edge before the finish so the layered plys read as the solid profile. The finish protects the panel and ties the table to the room.
Band the top edges, the upright faces, and the base edge so the visible plys take the same finish as the face. Trim the band flush and sand it into the curve of the C. The banded edge reads as the furniture detail that separates the build from the shop project.
A clear coat shows the grain of the sheet, a stain tones the panel to the room timber, and paint reads as the quiet companion to the sofa. Seal the edges first and build the topcoat in thin layers. The finish that matches the room keeps the table in the design.
The build fails in a few familiar places: the top that flexes under the laptop, the base that tips at full reach, and the raw edges that mark the project grade. Each mistake traces to the design numbers rather than the finish. Set the thickness, the balance, and the edge detail before the first coat.
A thin top on a long reach reads as a spring and never sits the cup level. Thicken the top, shorten the reach, or brace the underside so the span holds flat. The stiff top keeps the table useful under the daily load.
A narrow base tips when the load reaches the far edge, so widen the footprint or weight the heel until the table stands steady. The balanced base keeps the laptop and the cup safe at the edge. Test the table with the full load before it reaches the sofa, because the tip shows itself only when the cup sits at the far edge. A table that passes the loaded test stays steady through the daily use of the room.
These are the questions builders ask most with a plywood C table.
A C table takes its name from the side profile: the base, the upright, and the top form a letter C that slides over a sofa arm or the bed edge. The top reaches over the seat while the base stays clear.
18 mm suits the standard table with the stiff upright and top, while a doubled panel carries the longer reach. Match the thickness to the reach and the load it takes.
Widen the base, extend the heel opposite the reach, or weight the base until the table stands steady at full load. The balance belongs in the design numbers.
Yes, the top, the upright, and the base cut from a single 18 mm sheet, with the dados tying the C together. Band the edges and finish the face for the furniture look.
Clear coat for the grain, stain for the room timber, or paint for the quiet companion, after the edges are banded. Seal the edges first and build the topcoat thin.
Measure the sofa, cut the C from the stiff panel, and balance the base before the finish, and the table carries the laptop and the cup for the years. The dado joint and the banded edge keep the build in the furniture class. When the project needs a panel cut for the top and the upright, HYY supplies furniture-grade sheets with the thickness marked on the face, and the Fancy Plywood and Commercial Plywood pages show the panels for the table build. The complete plywood product range backs the C table before the first cut.