Our Location
5th Floor, Huake Center, Lanshan District, Linyi City, Shandong Province, China

5th Floor, Huake Center, Lanshan District, Linyi City, Shandong Province, China
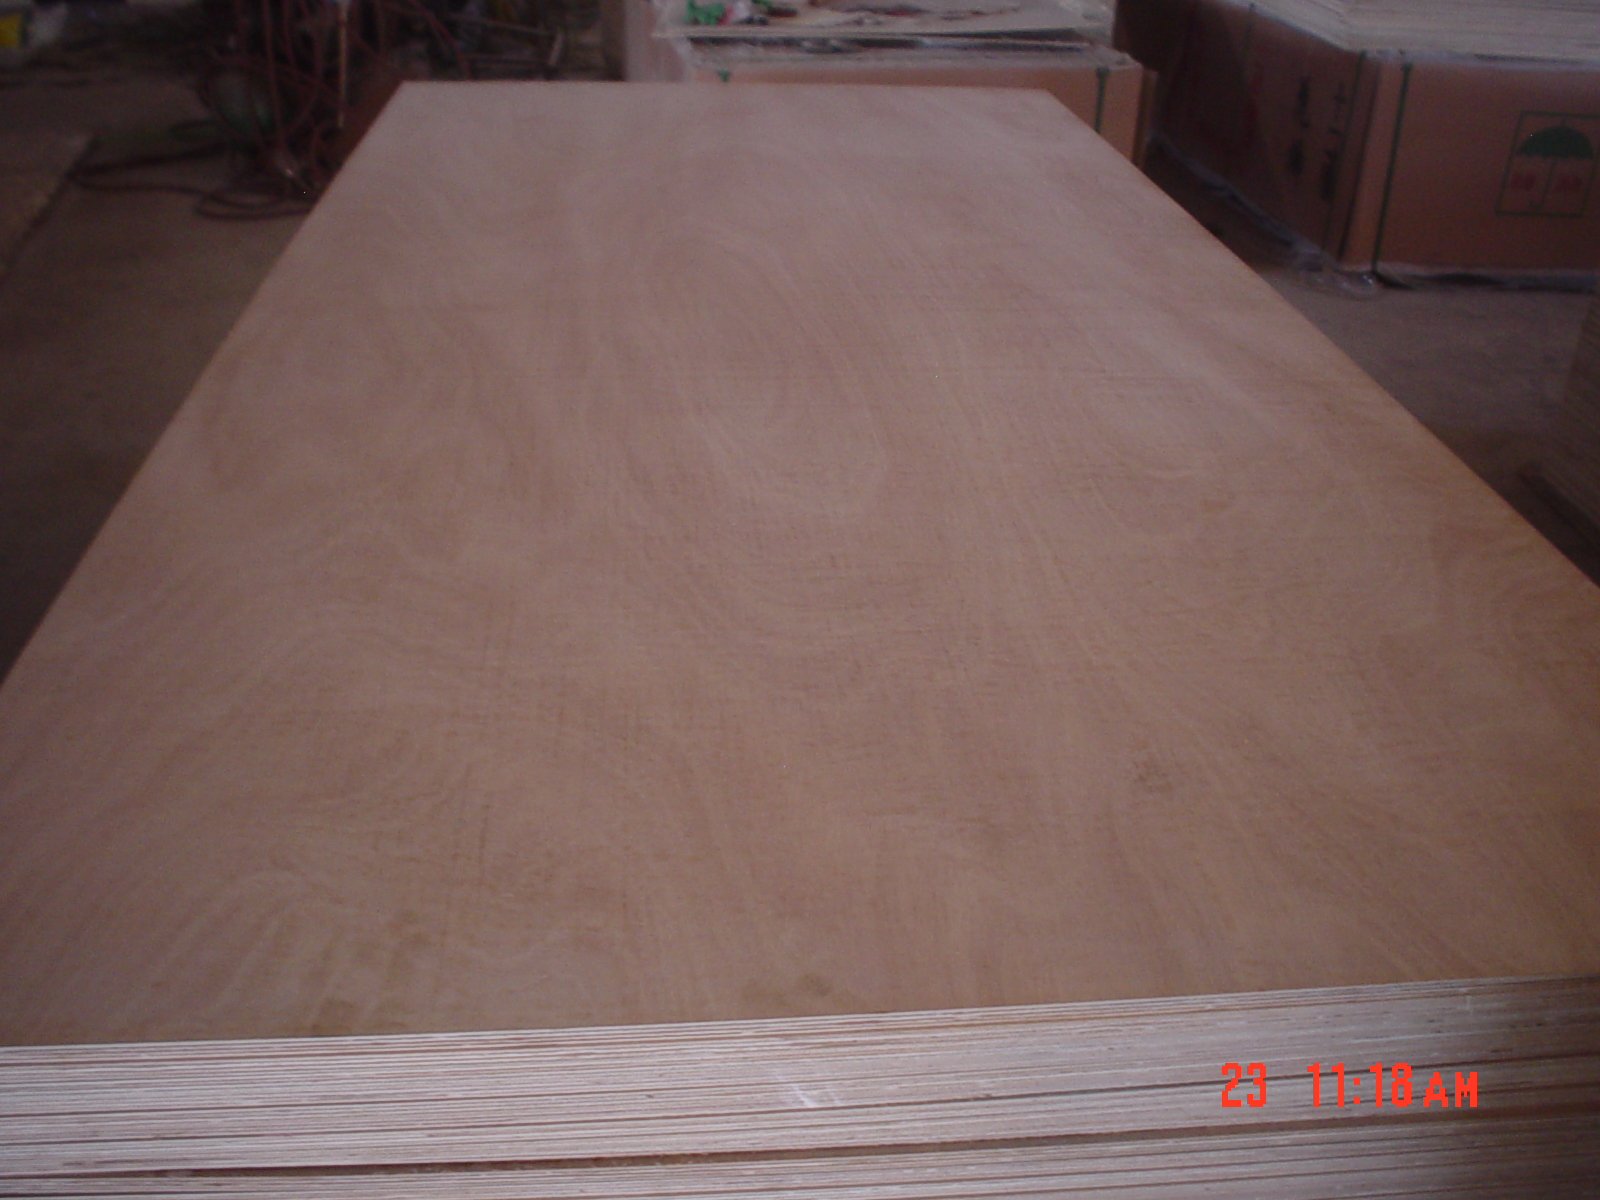
Behind the pretty door the kitchen depends on the box, and the cabinet called plywood cabinets carries the worktop, the dishes, and the daily slam for decades. Plywood builds the strongest carcase a kitchen accepts, with a screw grip that MDF loses under the hardware and a moisture tolerance that the damp sink zone demands. This guide covers choosing the panel, building the boxes, treating the edges, and installing cabinets that stay square in service.
Cabinet carcases take screws, hinges, and moisture, which is exactly where plywood outworks the particle panels. Plywood grips the hinge screws edge-on and shrugs off the damp dish zone, while MDF swells at the cut edges under a spill. The structural plywood core holds the box and the hardware for the cabinet’s decades.
The cross-laid veneers of plywood catch the hinge and shelf screws with the full thickness, so the hardware sits tight for the life of the box. MDF loses the thread in the loose inner core and needs the threaded inserts to hold the hinge. A plywood carcase takes the hardware changes a kitchen throws at it.
The sink cabinet and the dishwasher bay live with water, and plywood holds the moisture better than the particle cores that swell at the cut edge. Exterior-bonded structural plywood resists the damp that softens MDF under the counter. The cabinet box outlasts the door styles that the trend changes.
Most kitchen boxes build from 18 mm plywood, with some compact systems using 16 mm panels for the lighter case. The 18 mm sheet carries the worktop, the drawer boxes, and the door hinges for the standard run. The thickness states the stiffness the cabinet needs on its own racking load.
An 18 mm plywood carcase carries the top spans and the hinge loads with a comfortable reserve, the common spec for a built kitchen. The panel cuts clean, takes the dado, and keeps the box square under the worktop. Choose 18 mm unless the design plan calls the thinner profiles for a purpose.
Compact 16 mm systems lighten the case for the small units, while 12 mm suits drawer sides and the internal dividers. Each thinner panel trades stiffness for weight and finds the jobs where the reserve is not needed. Balance the thickness to the bay and the load the part actually carries.
Cabinet boxes cut on the panel saw, bored on the dowel lines, and clamped square at the shop assemble fast and stay flat on the wall. Cut the sides, the top and bottom, the back, and the shelves from the sheet, and edge the visible surfaces before assembly. The case joins with dadoes and dados locked with glue and dowels or confirmat screws.
Cut the 18 mm sides to the cabinet height, the top and bottom to the depth, and the back to the bay to square the box during assembly. Use a sharp blade on the panel saw and a scoring pass on the face so the veneer edges stay clean. Label the parts to the cabinet code before the stack leaves the saw.
Join the sides to the top and bottom with dadoes or dowels and glue, then set the back panel to lock the box square. Confirmat screws bolster the corner joints for the sheer load of the stacked kitchens. Clamp each box, check the diagonal, and let the glue develop before the box moves off the bench.
The plywood cabinet edge needs a treatment: laminate edge banding, a painted sealed edge, or a hardwood lipping depending on the exposed line. Edge banding covers the inner plys for the cleanest run on the front edges, while painted sealed edges suit the interior faces. Treat every visible cut edge so the moisture never finds the core.
Fuse the matching laminate band to the front edges with the edge bender or the iron, then trim and sand the band flush. The banded edge reads as the finished material and covers the layered veneer in one pass. Band the door surfaces, the exposed shelf ends, and the front of the boxes.
Seal the interior cut edges with the primer and the topcoat so the damp and the dust never enter the core. The sealed edge keeps the cabinet interior clean and the panel stable across the seasons. Paint the inside faces once and the hardware carries the rest.
Cabinet doors live on the hinges and the runners, so the hardware spec matches the plywood it bites. Use the concealed hinge cups with the drill jig on the door back and the base plates on the box side, set for the face-frame or overlay style. The runners carry the drawer loads the panel joints must hold.
Drill the hinge cup with the jig dead to the depth, mount the base plate on the box side, and adjust the door with the cam screws of the hinge. The plywood edge grips the hinge screws tight when the cup and the plates are set right. Adjust the doors once after the case installs level.
Mount the telescopic runners square and level on the box sides so the drawer fronts close flush. The drawer box in a side-mounted runner carries the load through the plywood side that the screws grip edge-on. A square runner mount keeps the drawers quiet for the cabinet’s service.
Install the boxes on the levelling legs or the plinth, fix the first case plumb, and clamp each neighbour to its seam before the final screws. The wall line, the level, and the square head the whole run, so the first box sets the standard. Check the doors swing after the base settles into the floor.
Set the first box on the plinth, shim to the level, and screw the top corners into the studs to fix the reference case. Plumb the front edge with the spirit level and clamp every box along the level string. The plumb first box makes the doors align across the whole run.
Clamp each next box to the previous seam, level across the top, and fix the run before the worktop lands. The counter picks the line of the top edges, so the seams read flush before the silicone covers them. Square bases carry the stone and the daily use.
These are the questions buyers ask most with plywood cabinets.
Builders use 18 mm structural plywood for the cabinet boxes, often a birch or hardwood face for the visible surfaces. The panel carries the hinges, the shelves, and the damp kitchen zones.
Plywood grips the hinges better, resists the damp at the edges, and holds its shape over MDF for the box. MDF wins for the painted door, not for the load-bearing carcase.
18 mm suits the standard kitchen carcase, while 16 mm is used in some compact systems and 12 mm for the drawers. Match the panel to the part and the load it carries.
Visible cut edges need edge banding or a sealed painted edge so the panel stays stable and the damp never enters the core. It is part of the build.
Plywood boxes cost more than the particleboard cases but last through moisture, hardware changes, and decades of use. The premium buys the carcase that outlasts the doors.
Choose the 18 mm structural panel, cut the parts to the cabinet code, and band the edges before the boxes assemble square. The screw grip, the damp resistance, and the square install carry the kitchen for the years. When the shop needs plywood for the box run, HYY supplies furniture-grade panels marked with the thickness and the bond, and the Melamine Plywood and Commercial Plywood pages show the faces for the cabinet build. The complete plywood product range backs the box before the doors land.