Our Location
5th Floor, Huake Center, Lanshan District, Linyi City, Shandong Province, China

5th Floor, Huake Center, Lanshan District, Linyi City, Shandong Province, China
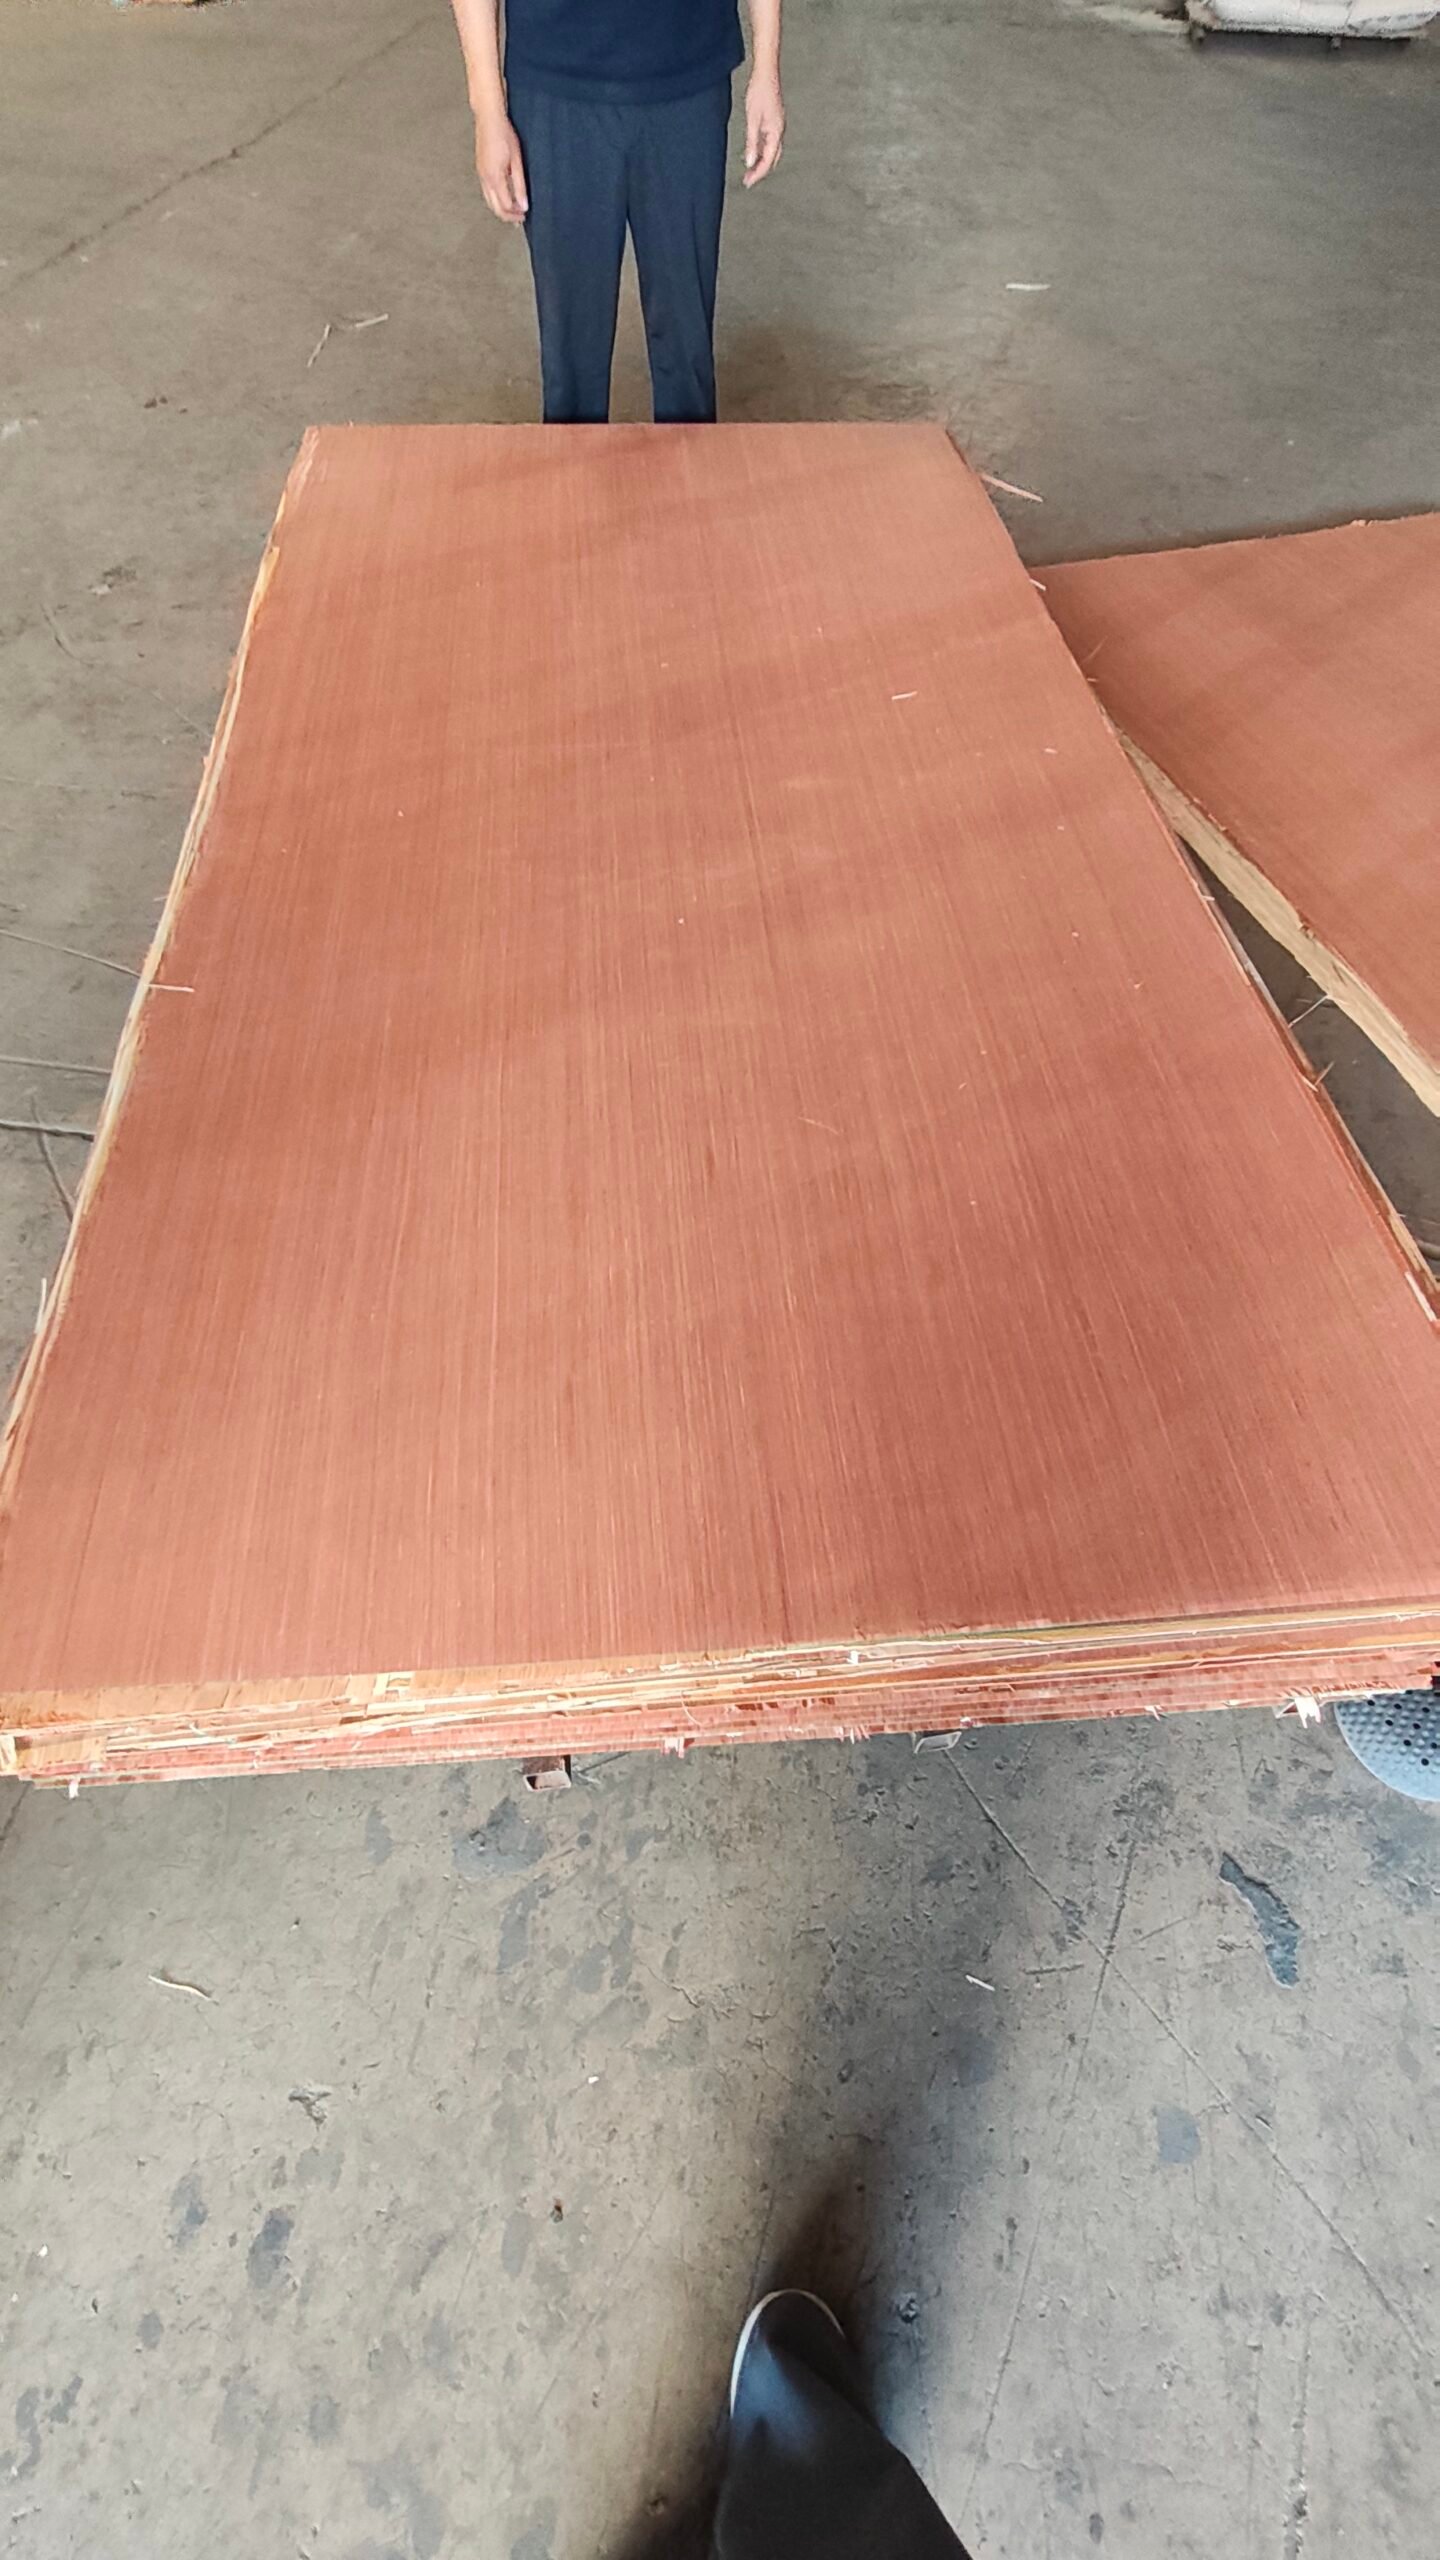
Ask any painter and the painting plywood tips come back to the same truth: the finish shows the preparation. Plywood is flat and factory-smooth, but a bare panel drinks paint unevenly, lifts a hairy grain at the first coat, and telegraphs every joint through the surface. This guide collects the painting plywood tips that deliver a hard, even finish on furniture, cupboards, and wall panels.
The finish starts before the primer tin opens, with the sanding pass that levels the surface and opens the grain for the paint key. Sand the panel along the grain with a fine grit, then wipe the dust with a tack cloth so the primer bonds to a clean face. The sanding step decides whether the paint sits smooth or shows every fibre.
Begin with a medium grit to knock down the telegraphing grain, then finish with a fine grit for the closed surface. A power sander speeds the flat passes, and hand sanding cleans the edges the machine misses. Keep the dust down between grits so no grit leaves scratches under the finish.
Seams, patches, and grain defects in the panel take a wood filler before the primer, so the finish reads as one flat surface. Press the filler into the joint, sand it flush, and dust the face again. A filled seam disappears under the paint, while an unfilled line shows through every coat.
The raw plywood edge soaks paint and shows the core grain, so a sealing pass down the edge saves the finish from the first coat. Run a wood sealer or a thinned primer over the edges, sand lightly, and the edge turns opaque. Sealing the edges also controls the moisture that would swell the core under the paint.
Where the job needs a clean furniture edge, iron-on edge banding covers the core and gives the paint a smooth, uniform surface. Trim the band flush, sand the corner, and the edge paints exactly like the face. The banded edge hides the plywood layers that no paint layer hides well.
The primer builds the adhesion the topcoat relies on, and the right primer depends on the plywood face. A latex-based or oil-based primer locks the knots and the resins that bleed through paint, and a stain-blocking primer holds the tannins down on hardwood faces. The primer also seals the panel so the topcoat does not drink unevenly.
Hardwood and some softwood faces bleed resin and tannin through water-based paint, so a stain-blocking primer carries the first barrier. The primer seals the bleed points and gives the colour coat an even base. Two thin primer coats beat one thick coat on a resinous face.
Lightly sand the dried primer to knock the dust nibs flat before the topcoat, then wipe the panel down. The primer pass extra work pays in the smooth colour coat. A de-nibbed primer surface receives the finish without trapping dust under it.
The topcoat follows the primer with thin, even passes that dry through between coats, because a thick first coat lifts and sags. Roll the large faces with a fine sleeve and tip off the edges with a brush that feather the lap marks. Thin coats win the smooth surface every time.
Load the roller lightly and lay the paint in one direction, then tip the surface off with a near-dry brush stroke to flatten the stipple. The tip pass draws the roller texture smooth before it sets. Work panel by panel so the wet edge never laps into a dry one.
Let each coat dry within the recoat window, sand lightly between the coats with a fine grit, and vacuum the surface before the next pass. The intercoat sanding removes the fugitives and builds the final gloss. The extra minutes between coats deliver the hard furniture finish.
Even on a prepared panel, the wood grain or a knot can show through the first colour coats as grin-through, and the fix is another sanding and a blocking primer. If the raised grain roughs the surface after the first coat, sand the panel with a fine grit and recoat. The repair before the last coat turns the surface smooth.
Fresh sanding can raise a fuzzy grain when the water-based paint hits it, and a pane that felt smooth goes rough. Sand the raised grain gently with a fine grit, dust the panel, and recoat. The sanded lift becomes part of the smooth base for the next coat.
A knot that bleeds and re-show thanks a stain-blocking primer and a spot-sanded pass before the final colour. Seal the knot with the block primer, let it dry, and paint on. The block stops the bleed so the last coat cures clean.
Large boards and full sheets behave differently under paint, because the surface area dries unevenly and the roller pass spans a metre of face. Paint big panels flat on sawhorses so the wet surface never sags, and lay the board topcoat in one continuous pass from end to end. A wet edge across the full width stops the lap mark that a slow pass leaves.
Lay the sheet flat and paint the face in the open, so the wet film cures level instead of running. The flat position lets the finish flow across the whole surface without pooling at the edges. Turn the panel over for the second face only after the first cures past the tack.
Roll the big face in a single direction and tip the whole width before the first pass dries. The consistent stroke keeps the texture even across the metre. Paint a panel entirely in one sitting so no lap line splits the finish.
Painting tips produce the best results on a panel that starts flat, dry, and with a closed face, so the preparation reward multiplies on a clean sheet. A one-sided finish on a cheap board pulls the panel into a curl, while a balanced, sealed panel stays flat in the room’s humidity. The paint and the panel work as one: the board delivers the flatness, and the paint coats seal the surfaces together.
Keep the sheet flat, dry, and off the floor until the finish session, because a damp board lifts grain under the first coat. A panel that absorbs moisture before the paint swells at the edges and rejects the film. Flat, dry storage turns the preparation into a finish that holds.
A melamine or pre-finished face rarely needs paint at all, and the panel stays clean without a single coat. Where the design paints a decorative panel anyway, sand the face lightly and prime with a bonding primer so the paint holds to the smooth surface. The right primer turns even a slick face into a paintable one.
These are the painting plywood tips builders ask for most.
Yes, a primer seals the face, locks the bleed, and gives the topcoat an even base. Skip the primer and the panel drinks paint unevenly and shows the grain.
Sand with a medium grit first to level the grain, then a fine grit for the closed surface. Dust the panel between grits so no grit scratches the finish.
A water-based enamel or a hard-wearing latex holds the smooth finish on furniture and interiors, over a stain-blocking primer. Match the paint sheen to the room and the wear.
Streaks come from uneven coats, a wild primer, or grin-through. Sand the panel lightly, repeat the primer pass, and lay the topcoat in thin even coats.
Yes, and you should, with equal coats, so the moisture movement stays balanced on both faces. A one-sided finish pulls the panel into a curl as the humidity swings.
Sand the face, seal the edges, prime with a blocking coat, and paint thin even layers between sandings. The finish quality follows the preparation, coat for coat. When the project needs a flat, dry panel that finishes smooth, HYY supplies panels with a stable face for paint, and Melamine Plywood skips the painting step for kitchen faces altogether. For utility panels that take the paint and hold it, Commercial Plywood gives a stable painted face at a working cost. The complete plywood product range gives the finish a clean start.