Our Location
5th Floor, Huake Center, Lanshan District, Linyi City, Shandong Province, China

5th Floor, Huake Center, Lanshan District, Linyi City, Shandong Province, China
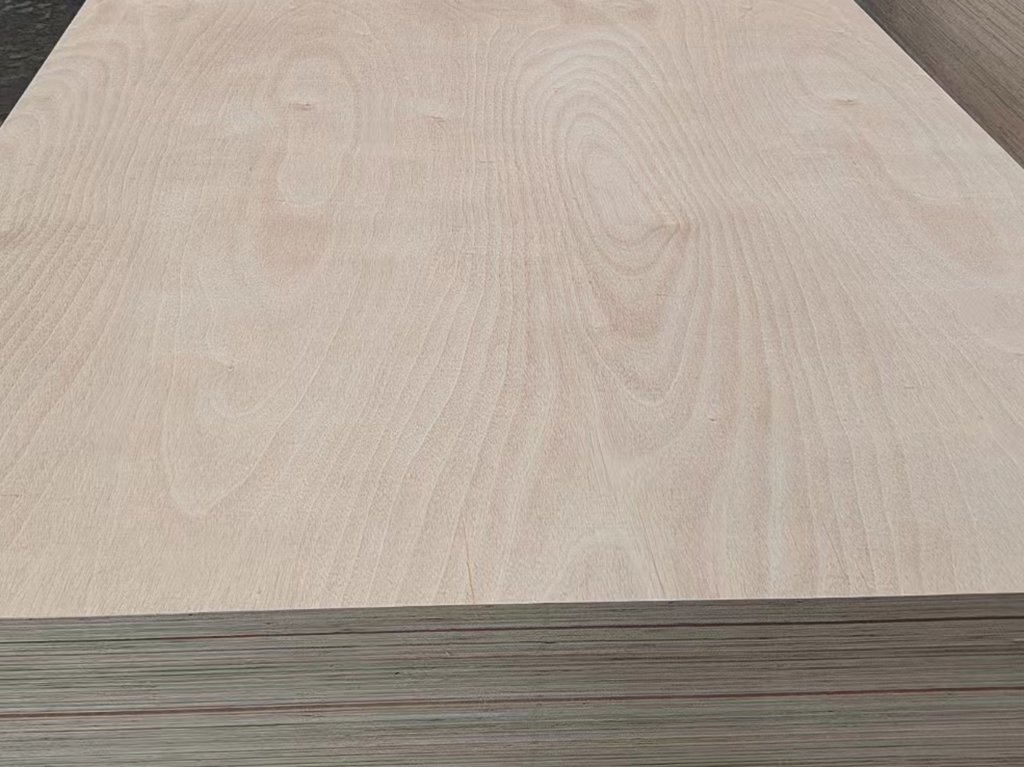
Wall sheathing turns a stud frame into a rigid box, and getting the plywood onto the walls in the right order decides how square and how strong the house stands. Learning how to plywood walls means running the sheets over the studs, staggering the seams, and nailing to the schedule so the frame locks together under the wind. This guide walks the layout, the fixing, the openings, and the moisture discipline behind a wall that performs.
Wall sheathing needs a structural panel rated for the stud spacing, with a bond that suits the exposure and a thickness that matches the frame. Standard wall panels run the approved thickness for the stud width, usually 9 mm to 12 mm on residential framing, with a heavier structural sheet where the design demands it. Confirm the rating and the stamp before the sheets go up.
The stud spacing decides the required panel thickness and the nailing schedule, both stated on the pack or the structural table. Wider stud spacing or higher wind loads push the panel up a step. Confirm the approved thickness for the frame and the region instead of matching the previous job by habit.
Walls face rain, sun, and chilled air, so the sheathing panel carries an exterior or structural bond that resists the weather before the cladding goes on. A panel built for interior work delaminates in the weather gap behind the siding. Match the bond to the exposure the wall will meet between framing and cladding.
Wall panels run with the face grain perpendicular to the studs, so the sheet spans the vertical framing across its width. The sheets break over the stud lines, never between them, and the vertical seams stagger from row to row. The layout locks the frame square and carries the wind load into the anchors.
Stagger the vertical joints on the wall so a seam in one row lands over the middle of a panel in the next. A staggered layout stops a crack from travelling one straight line up the wall. Plan the seam pattern on the wall plan before the first sheet goes up.
Every panel edge lands on a stud so the supporting member catches the fasteners along the seam. A sheet edge floating between studs carries no fixing and flexes under load. Measure the stud spacing from the actual frame, because the layout follows the real framing, not the plan.
The nailing schedule states the fasteners at the panel perimeter and across the field, and the layout holds the wall together only when the fixing matches the plan. Nail the perimeter at the specified spacing into the studs, then add the field nails at the approved pattern. Drive the heads flush without burying them in the face.
Fix the panel edge every few inches along the studs and add the field of fasteners the schedule allows, with the pattern closer along the edges than across the field. The perimeter nails transfer the wind load into the frame, and the field nails hold the panel flat. Count the fasteners so the full schedule lands on every sheet.
Choose a fastener that passes through the panel and bites deep into the stud, sized to the panel thickness and the stud depth. Drive the head flush so the face holds flat without the bruising a buried head leaves. A test fastening in a scrap panel confirms the length before the wall gets committed.
Windows and doors interrupt the wall layout, and the sheathing carries the load around each opening through the framing below and above. Cut the openings after the panel covers the rough opening, so the cut stays clean and the sheet keeps its load path. Start the corners square with a first panel that sets the whole wall true.
Position the sheet over the rough opening, mark the window cut from inside, and cut it with the jigsaw before fixing the sheet in place. Cut the corners a little inside the line, then trim the opening to fit the frame. A clean, measured cut beats a blade run blind through the wall.
Plumb the first corner panel and fix it square before the rest of the wall locks its position. A square start carries the flatness across the whole elevation, while a leaning first corner leaves every following panel fighting the error. Check the corner with a level at the first sheet and the wall stays true.
Sheathing panels need a small expansion gap at the edges and ends so the wood can move with the weather without buckling. Leave a millimetre or two at each seam, and set the sheets tight to the plates for the fastening line. The wall breathes within the gap, and the framing holds the panel across the movement.
Plywood expands as it absorbs moisture, and a panel forced against its neighbour buckles at the seam instead of moving within a gap. The expansion gap turns a summer panel into a stable surface across the seasons. Keep the gap consistent so the framing read the entire row of sheets straight.
Seal the panel edges that sit exposed before the weather barrier or cladding goes on, because the cut core drinks moisture fast. A quick coat of sealer on the raw edges protects the panels in the open period between sheathing and covering. The seal takes minutes at the sheathing stage and saves a wavy wall later.
The walls go up in an order that lets each panel lock the frame square, usually one elevation at a time with the corners braced. Plumb and brace each wall before the next one closes the corner, so the box stands square without leaning. The bracing stays in place until the roof and the sheathing hold the frame themselves.
Fix temporary bracing to the top of each wall and to the floor so the frame cannot rack while the next wall goes up. The braces hold the plumb line until the roof deck ties the structure together. Remove the braces only after the permanent bracing carries the wall.
Meet the corner panels at the corner studs and nail both sheets into the shared member so the corner becomes a rigid junction. The two walls lock each other square, and the door and window openings stay true in the box. A corner tied at the sheathing stage carries straight through the finish.
These are the questions builders ask most when they plywood walls.
Residential stud walls commonly use 9 to 12 mm structural panels, with a heavier sheet where the stud spacing or the wind load demands it. Confirm the approved thickness from the structural table.
Sheathing runs with the face grain perpendicular to the studs so the sheet spans the vertical framing. Stagger the vertical seams from row to row across the elevation.
Yes, leave a small expansion gap at the sheet edges so the panel can move with the weather without buckling at the seam.
No, wall sheathing needs a structural panel with a bond rated for the weather gap behind the cladding. An interior board delaminates in that exposure.
Follow the approved schedule, with the fasteners closer around the perimeter and more open across the field of each sheet.
Check the first corner plumb, run every panel to the stud lines, and nail the full schedule before the bracing comes off. Seal the exposed edges and box the corners so the whole structure stands square. When the frame needs sheathing panels that stay flat through the build, HYY supplies structural wall panels for the frame, with Commercial Plywood for utility walls and OSB Board for a strong, flat sheathing alternative. The complete plywood product range squares the frame before the cladding lands.