Our Location
5th Floor, Huake Center, Lanshan District, Linyi City, Shandong Province, China

5th Floor, Huake Center, Lanshan District, Linyi City, Shandong Province, China
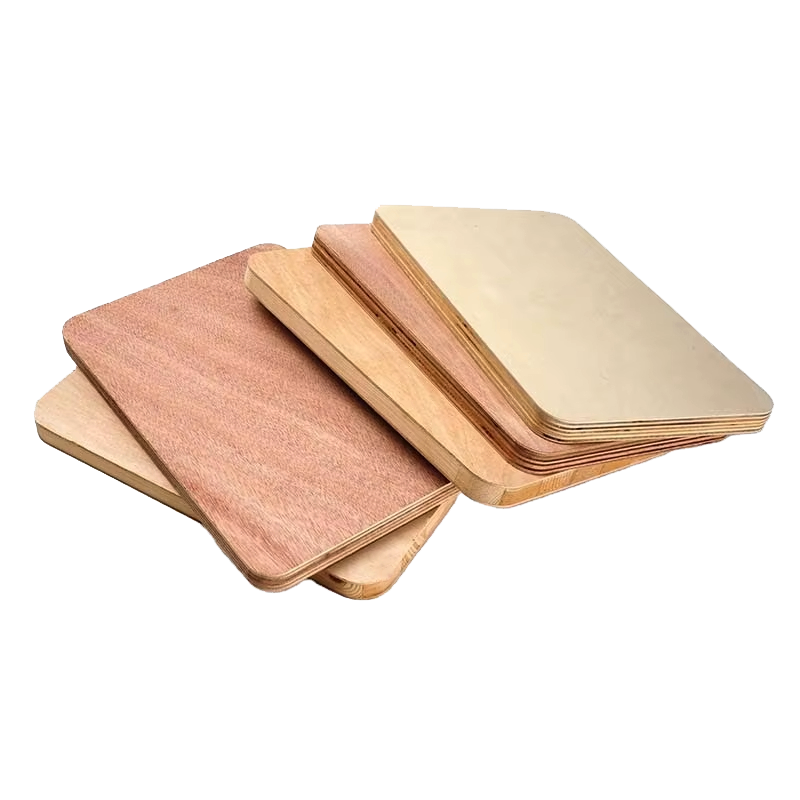
Roof sheathing turns a skeleton of rafters into a solid deck, and the decision to plywood a roof shapes the last inspection of the frame. The plywood has to run flat across the rafters, spread the roof load evenly, and stay dry until the cover goes on. This guide breaks down how to plywood a roof in order: layout, fixing, cutouts, and the moisture discipline that keeps the deck from cupping.
Roof sheathing needs a structural panel rated for the span, not a furniture board or a decorative face. Standard roof decking uses a structural plywood or an accepted sheathing panel thickness that suits the rafter spacing. Match the thickness to the span table and the deck holds the roof load without sagging between supports.
On typical rafter spacing, 12 mm to 18 mm structural panels carry the standard roof load, with the thicker sheet reserved for wider spans or heavy coverings. The supplier or the framing schedule states the approved thickness for each spacing. Confirm the panel carries a structural stamp before the sheets reach the roof.
Roof sheathing sees tar paper and shingles, so the face grade matters far less than the bond and the rating. A utility face carries the same load as a premium face, and the extra cost of a sanded surface is wasted under the cover. Spend the budget on the thickness and the structural rating, not the look of the face.
The plywood sheets run with the face grain across the rafters, perpendicular to the supports, so the longer panel dimension spans the spacing. Stagger the vertical joints between rows so the edges do not line up at one rafter, and break the joints over the rafters, never in the air between them. The layout controls the final strength of the deck.
Alternate the vertical seams on every row so a joint in one row lands over a solid panel in the next. Staggered joints stop a crack from running along one line of the deck. Space the joints at least one rafter bay apart where the plan allows.
Plywood expands as the deck heats and wets, so leave a small gap at the sheet edges and ends rather than pushing the panels tight. A 2 to 3 mm gap lets the deck breathe without buckling at the seams. The gap also keeps the edge from swelling against the neighbouring sheet.
Gun nails at the framing spacing, not random drops, hold the deck to the roof. Nail every sheet at the perimeter and field spacing that the schedule requires, with panel nails long enough to bite well into the rafter below. The nailing pattern transfers the wind and load from the sheet into the frame.
Set nails around the panel edge and across the field at the approved intervals, usually closer along the edges and more open in the middle. Drive the nails flush without sinking them deep into the face, because a buried head weakens the panel skin. Count the fasteners per sheet so the schedule stays consistent across the roof.
Choose a nail that penetrates well into the rafter after passing through the plywood, and check the recommended gauge for the deck thickness. A short nail pulls loose under wind load, and an oversized nail splits the framing at the edge. Test one fixing in a scrap panel before committing the schedule to the whole deck.
Sheathing stops at the cutouts that serve the building, so measure the vent openings, chimney penetrations, and valley lines before the sheets go down. Cut the sheets on the ground where possible and mark the cutouts on the roof for accuracy. A clean cut fits the flashing and keeps water from the deck.
Cut the holes for vents, flues, and skylight curbs with the sheet placed and marked, then reinforce the opening edges with framing where the schedule demands. Support the cut edges so the panel does not flex at the void. Test the opening with the vent before you nail the sheet down.
Sheathing at a valley runs past the intersection and slices at the line, leaving the flashing a clean channel. Cut the sheets to follow the hip and valley angles so the deck closes neatly at the ridge. Trim the edge at a slight angle so the flashing lies flat over the seam.
Roof work happens on a slope, so set up the lifts and safety before a panel leaves the ground. Stage the sheets along the ridge so nothing slides, and keep a tool lanyard so a nail gun never drops on the head. Move a full sheet at a time and fix the first edge before you release the hold.
Carry plywood sheets on edge or flat with a partner where the slope turns steep, and never drag a sheet across gravel or loose surface that marks the face. Position the sheet for the layout first, fix one corner, and then level the opposite corner before nailing the perimeter. The first fasteners hold the sheet while the rest of the schedule goes in.
Schedule the sheathing for a dry stretch, because plywood laid in rain traps moisture under the cover. Fix the deck, fit the underlay, and cover the roof as soon as the frame allows. If rain interrupts the work, loose panels blow and lift, so weight the deck down overnight with temporary fixings.
Roof plywood fails on moisture, not on load of the frame. A wet deck swells, cups, and stains before the covering ever goes on, and the cupped sheet leaves a bumpy base for the shingles. Keep the panels dry in storage, dry on the roof, and dry under the underlay, and the deck stays flat for the life of the cover.
Store roof panels flat under cover, off the ground, and with the wrapping intact until the lift takes them up. Wet edges swell at the cut and reject the fixings and the underlay. Check the pack for damp before the sheets reach the roof.
Fit the roof underlay promptly and lap it down the roof so the deck drains if weather comes in. Seal cut edges at the valleys and penetrations where the flash prevents water from working in. A dry duck keeps the deck flat, and flat decking keeps the shingle line true.
The questions below come up on almost every roof sheathing job.
Standard rafter spacing accepts 12 to 18 mm structural panels, with the thicker sheet for wider spans or heavy coverings. Always confirm the approved thickness from the span table.
The sheets run with the face grain perpendicular to the rafters, so the panel spans the supports. Stagger the vertical joints from row to row.
Leave a small expansion gap of about 2 to 3 mm at the sheet edges so the panels can move without buckling as the deck heats.
No, roof decking needs a structural panel with a rating for the span and the exposure, not an interior board with a weaker bond.
Follow the approved nailing schedule, with closer spacing around the perimeter and more open spacing across the field of each sheet.
Walk the deck over with the layout plan, tap the seams for crown, and sweep the surface before the underlay covers it. Confirm the cutouts fit their vents and the fasteners hold at the recommended schedule. On the next frame that needs a flat, structural deck, HYY supplies structural sheathing panels for roof decking jobs, with the Commercial Plywood and OSB Board pages showing the panels built for the span. The complete plywood product range backs the deck before the shingles land.